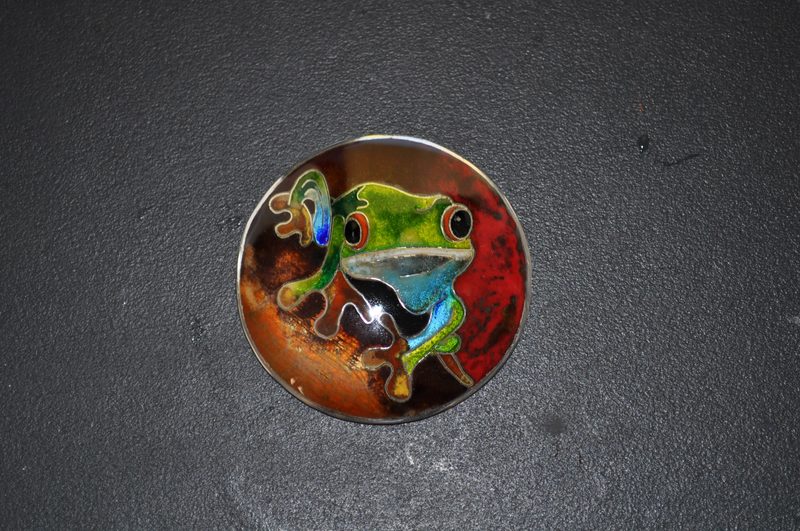
Here's the starting point for part 2, I've got an engraved disc of the frog and now it's ready to be domed.
I don't have a picture of this next bit, but I use a pneumatic press to provide the pressure and an oak doorknob to give the doming shape. The silver disc is placed face down onto a urethene pad, this provides, effectively, the female part of the die and the doorknob provides the male part. Also, using urethene, the guilloché and engraving are not destroyed by the pressure of the doming process; the cuts get protected by the flexibility of the urethene.
Once domed, the diameter of the silver disc is slightly reduced, so this gives me the dimensions required when making the silver border ring.
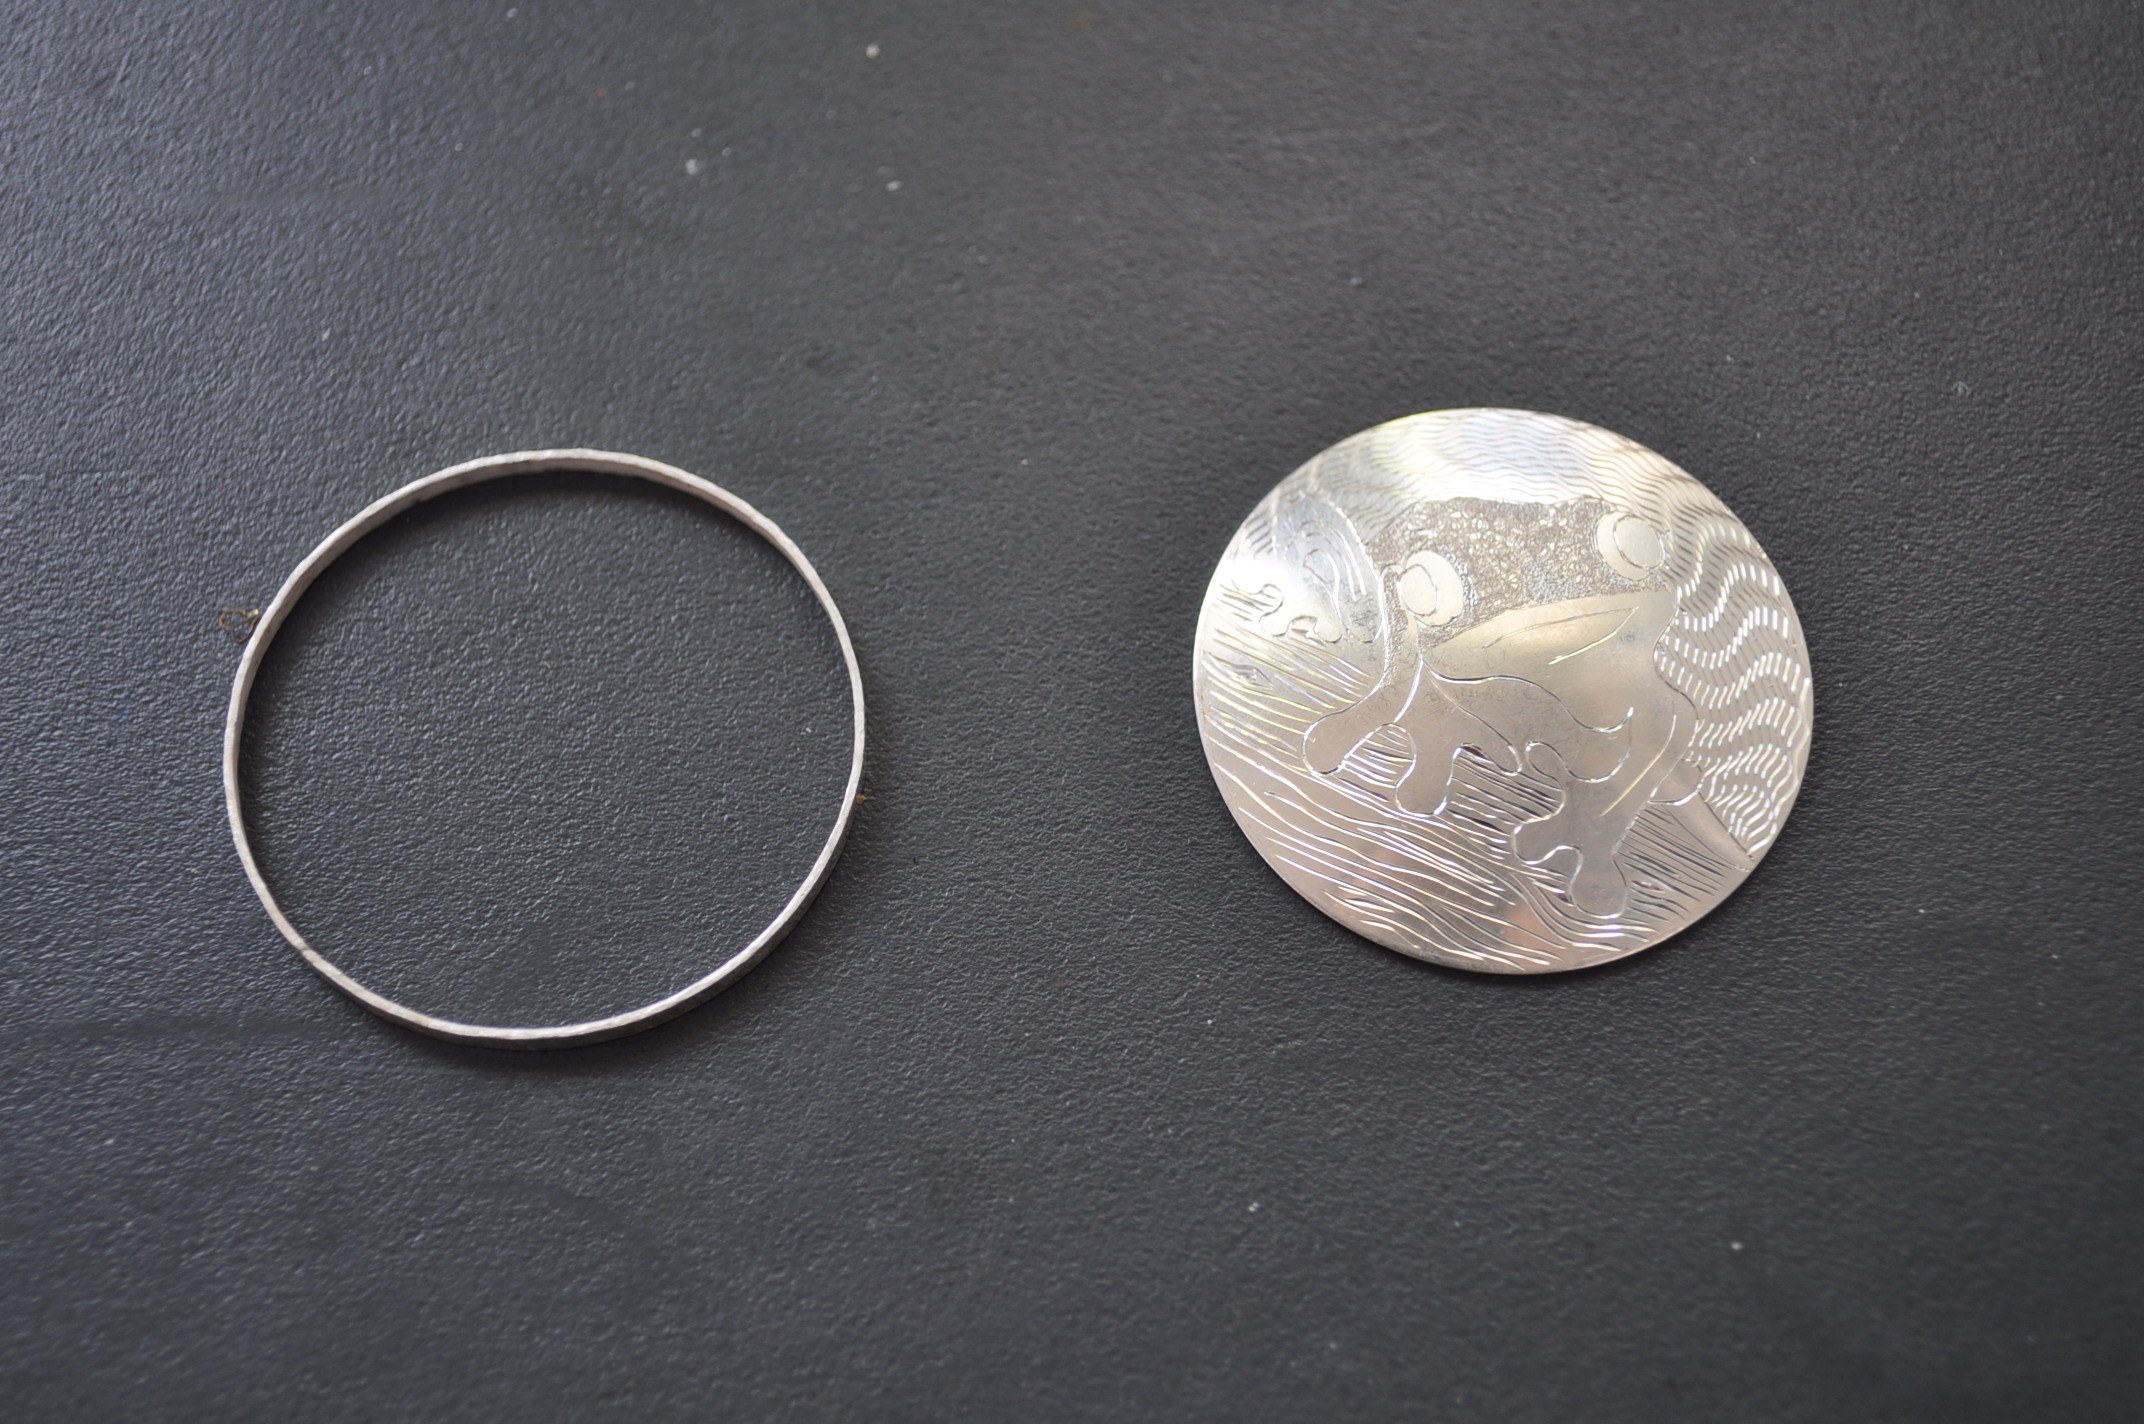
The silver ring was made by first fusing fine silver wire together to form a crude ring. The fusing is done using fine copper particles stuck onto the join and then applying lots of heat until the silver just melts at the join. The copper, effectively, chemically bonds with the silver to form an alloy and this has a slightly lower melting point than the rest of the silver, hence the whole thing doesn't end up as a pool of silver - although it can do if I'm not paying attention! Arh humm...anyway moving on...
After hammering the ring on a stake it forms a nice circle, and this method gives a surprising amount of control. I get the ring to fit exactly around the silver disc, so it's a tight fit:
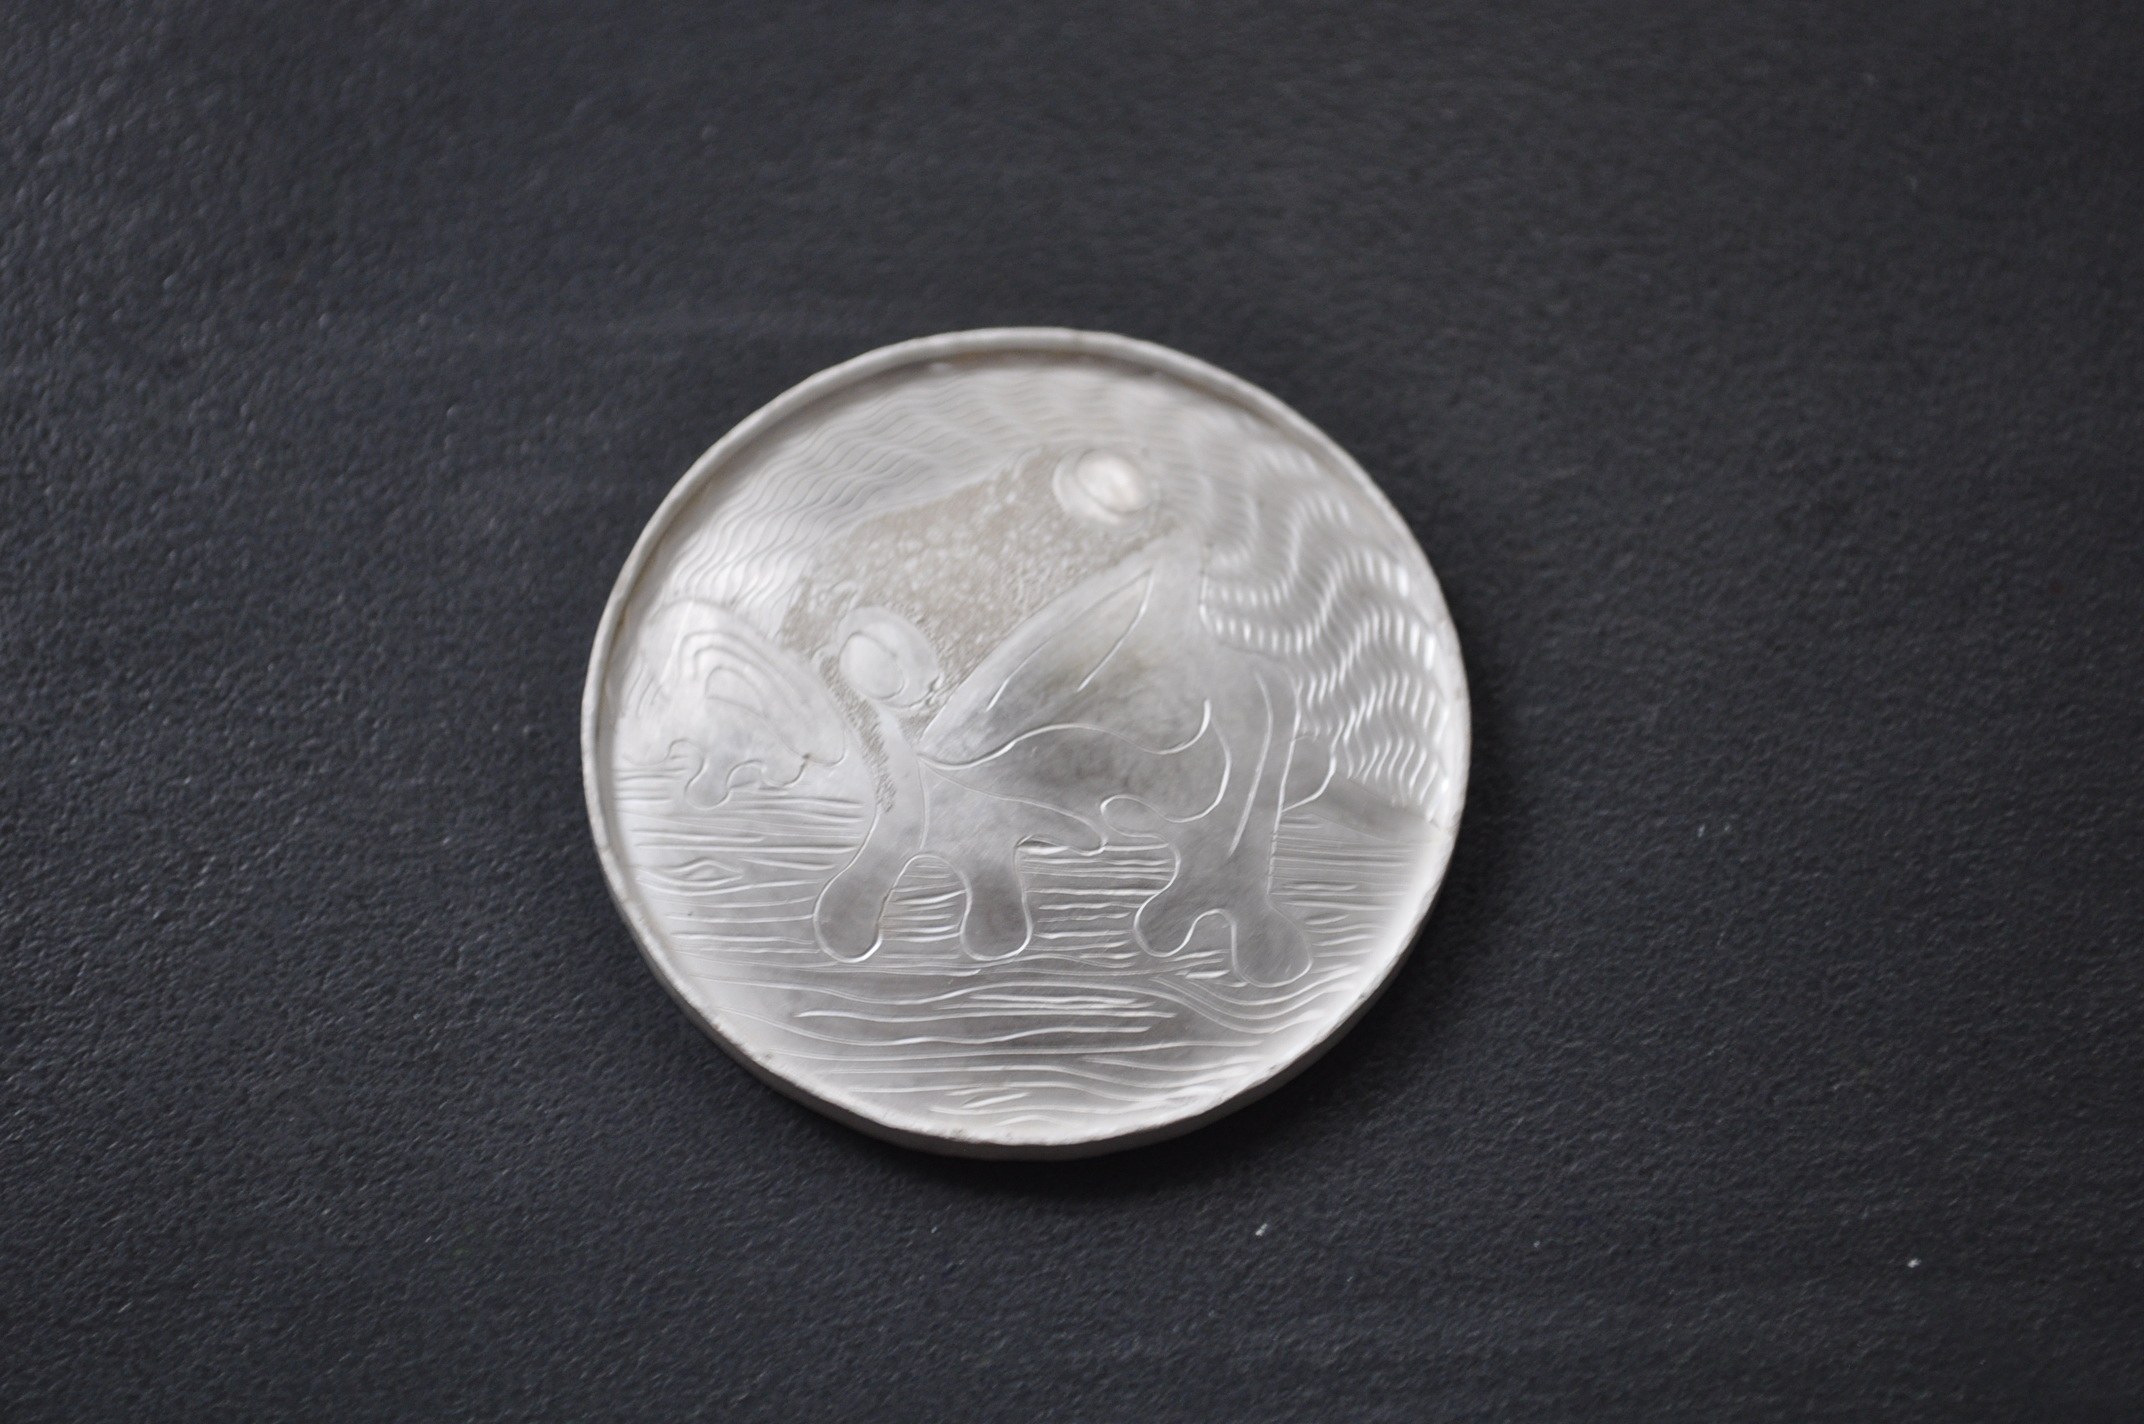
Actually the picture above is after I've soldered it too. I've used hard solder so the enamelling can go ahead without the ring falling off. You can see that applying the heat for soldering has subdued the engraving a bit - something to take account of in future; ideally the piece should go on straight to enamelling immediately after it's been engraved to preserve the keenness of the graver cuts.
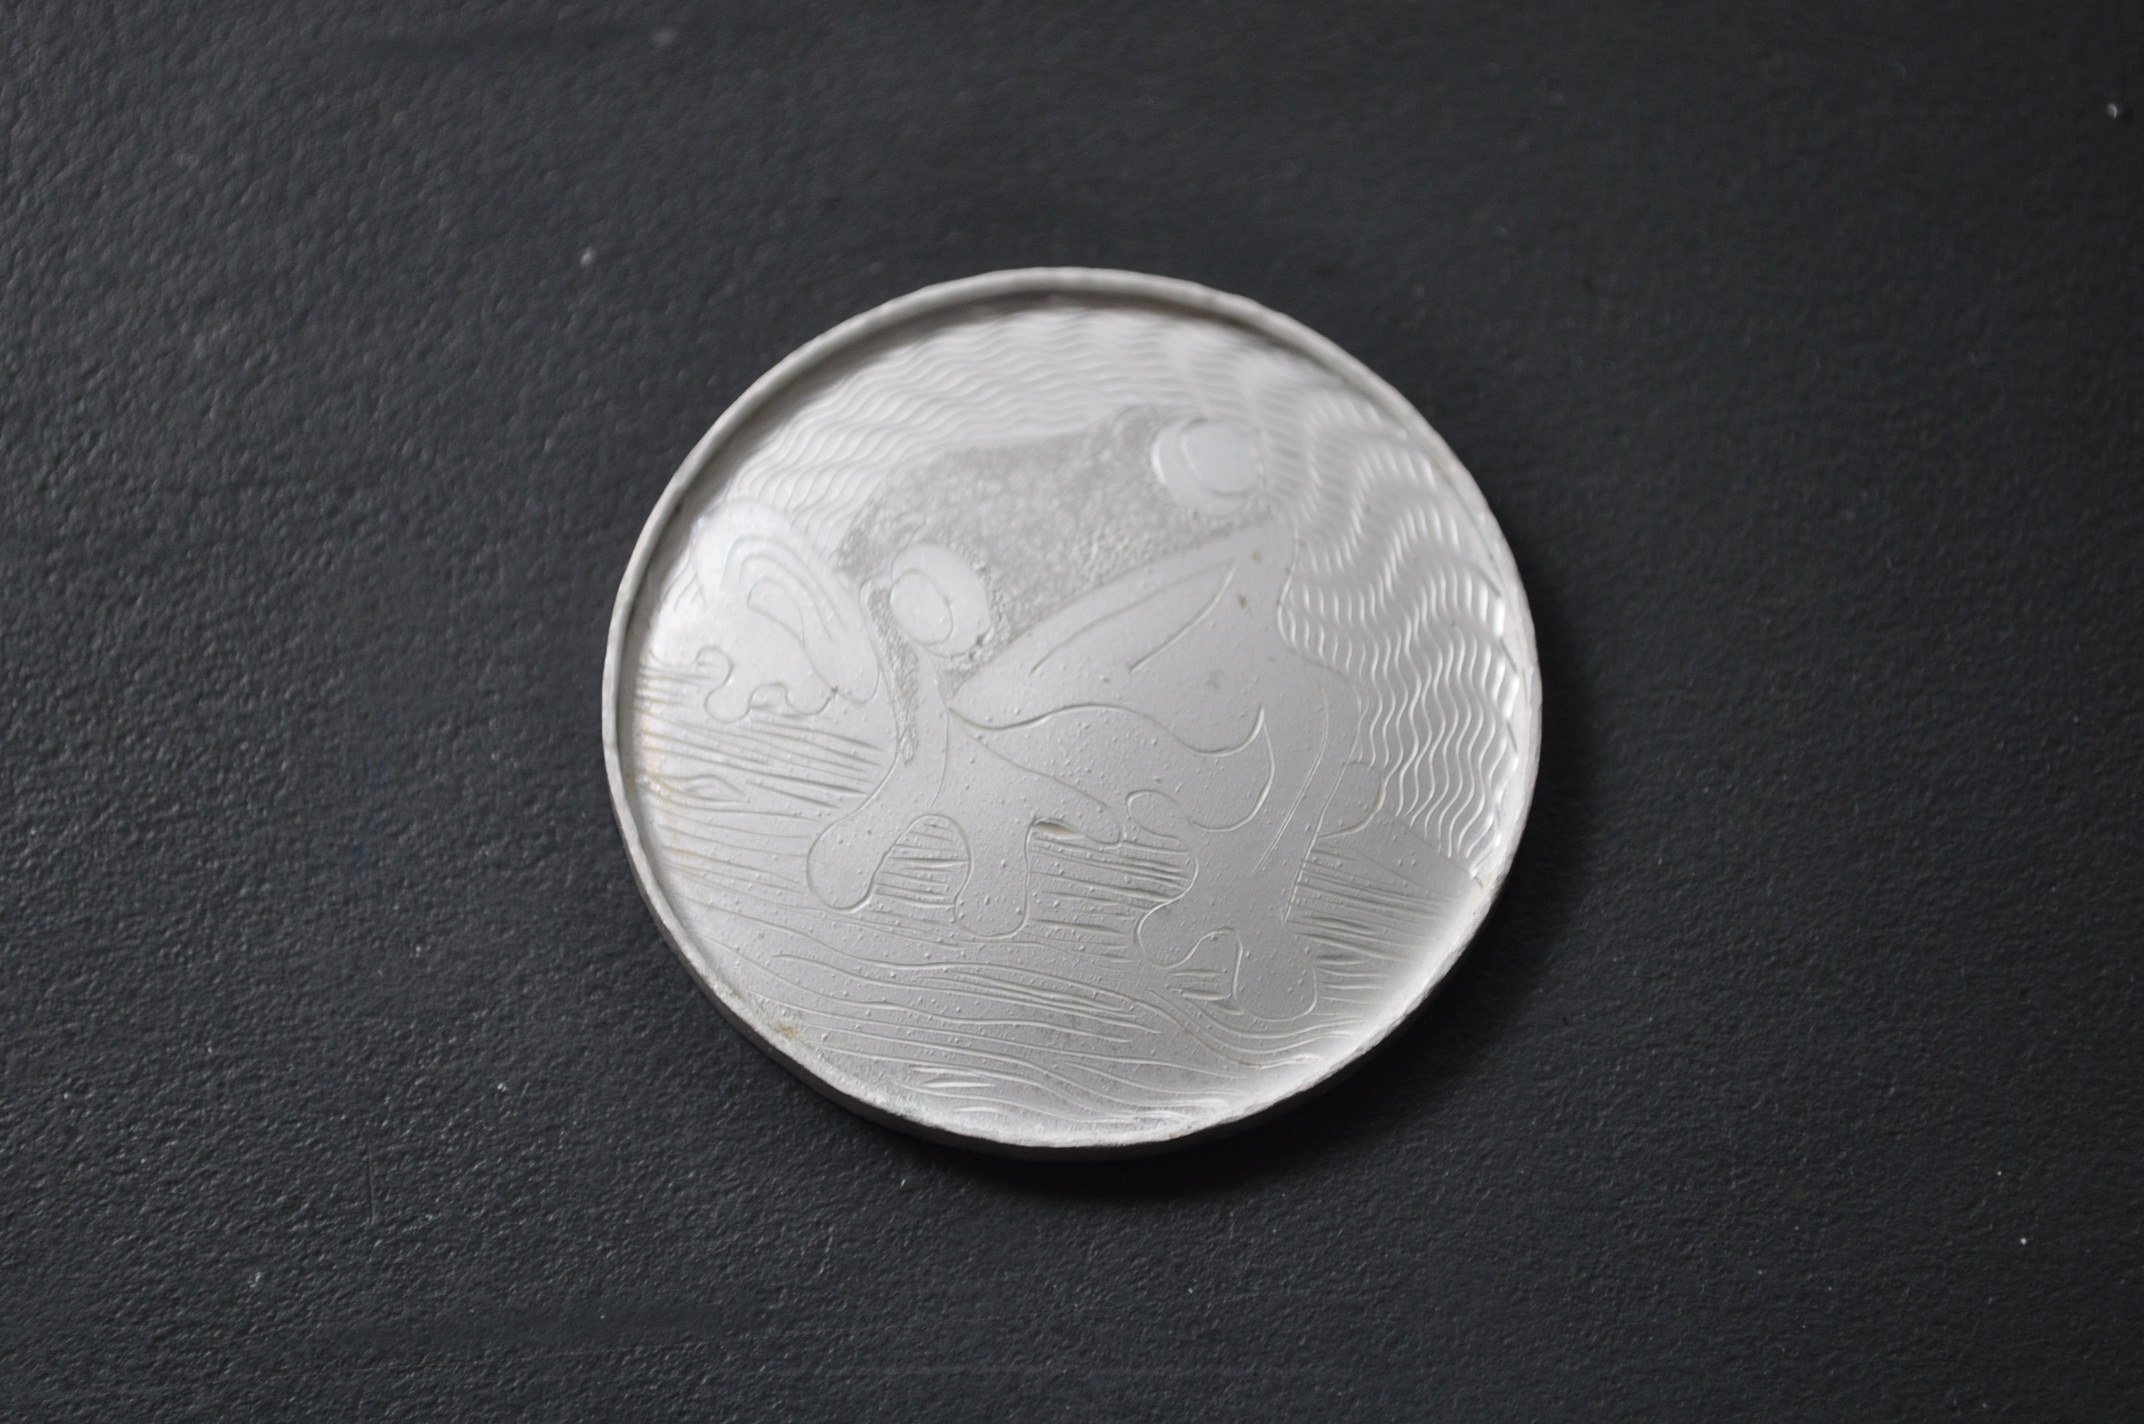
Next I put on a very thin layer of hard flux. In this case I've experimented with spraying a fine mist of enamel particles to leave a thin and even deposition. In the photo below the piece has also been fired.
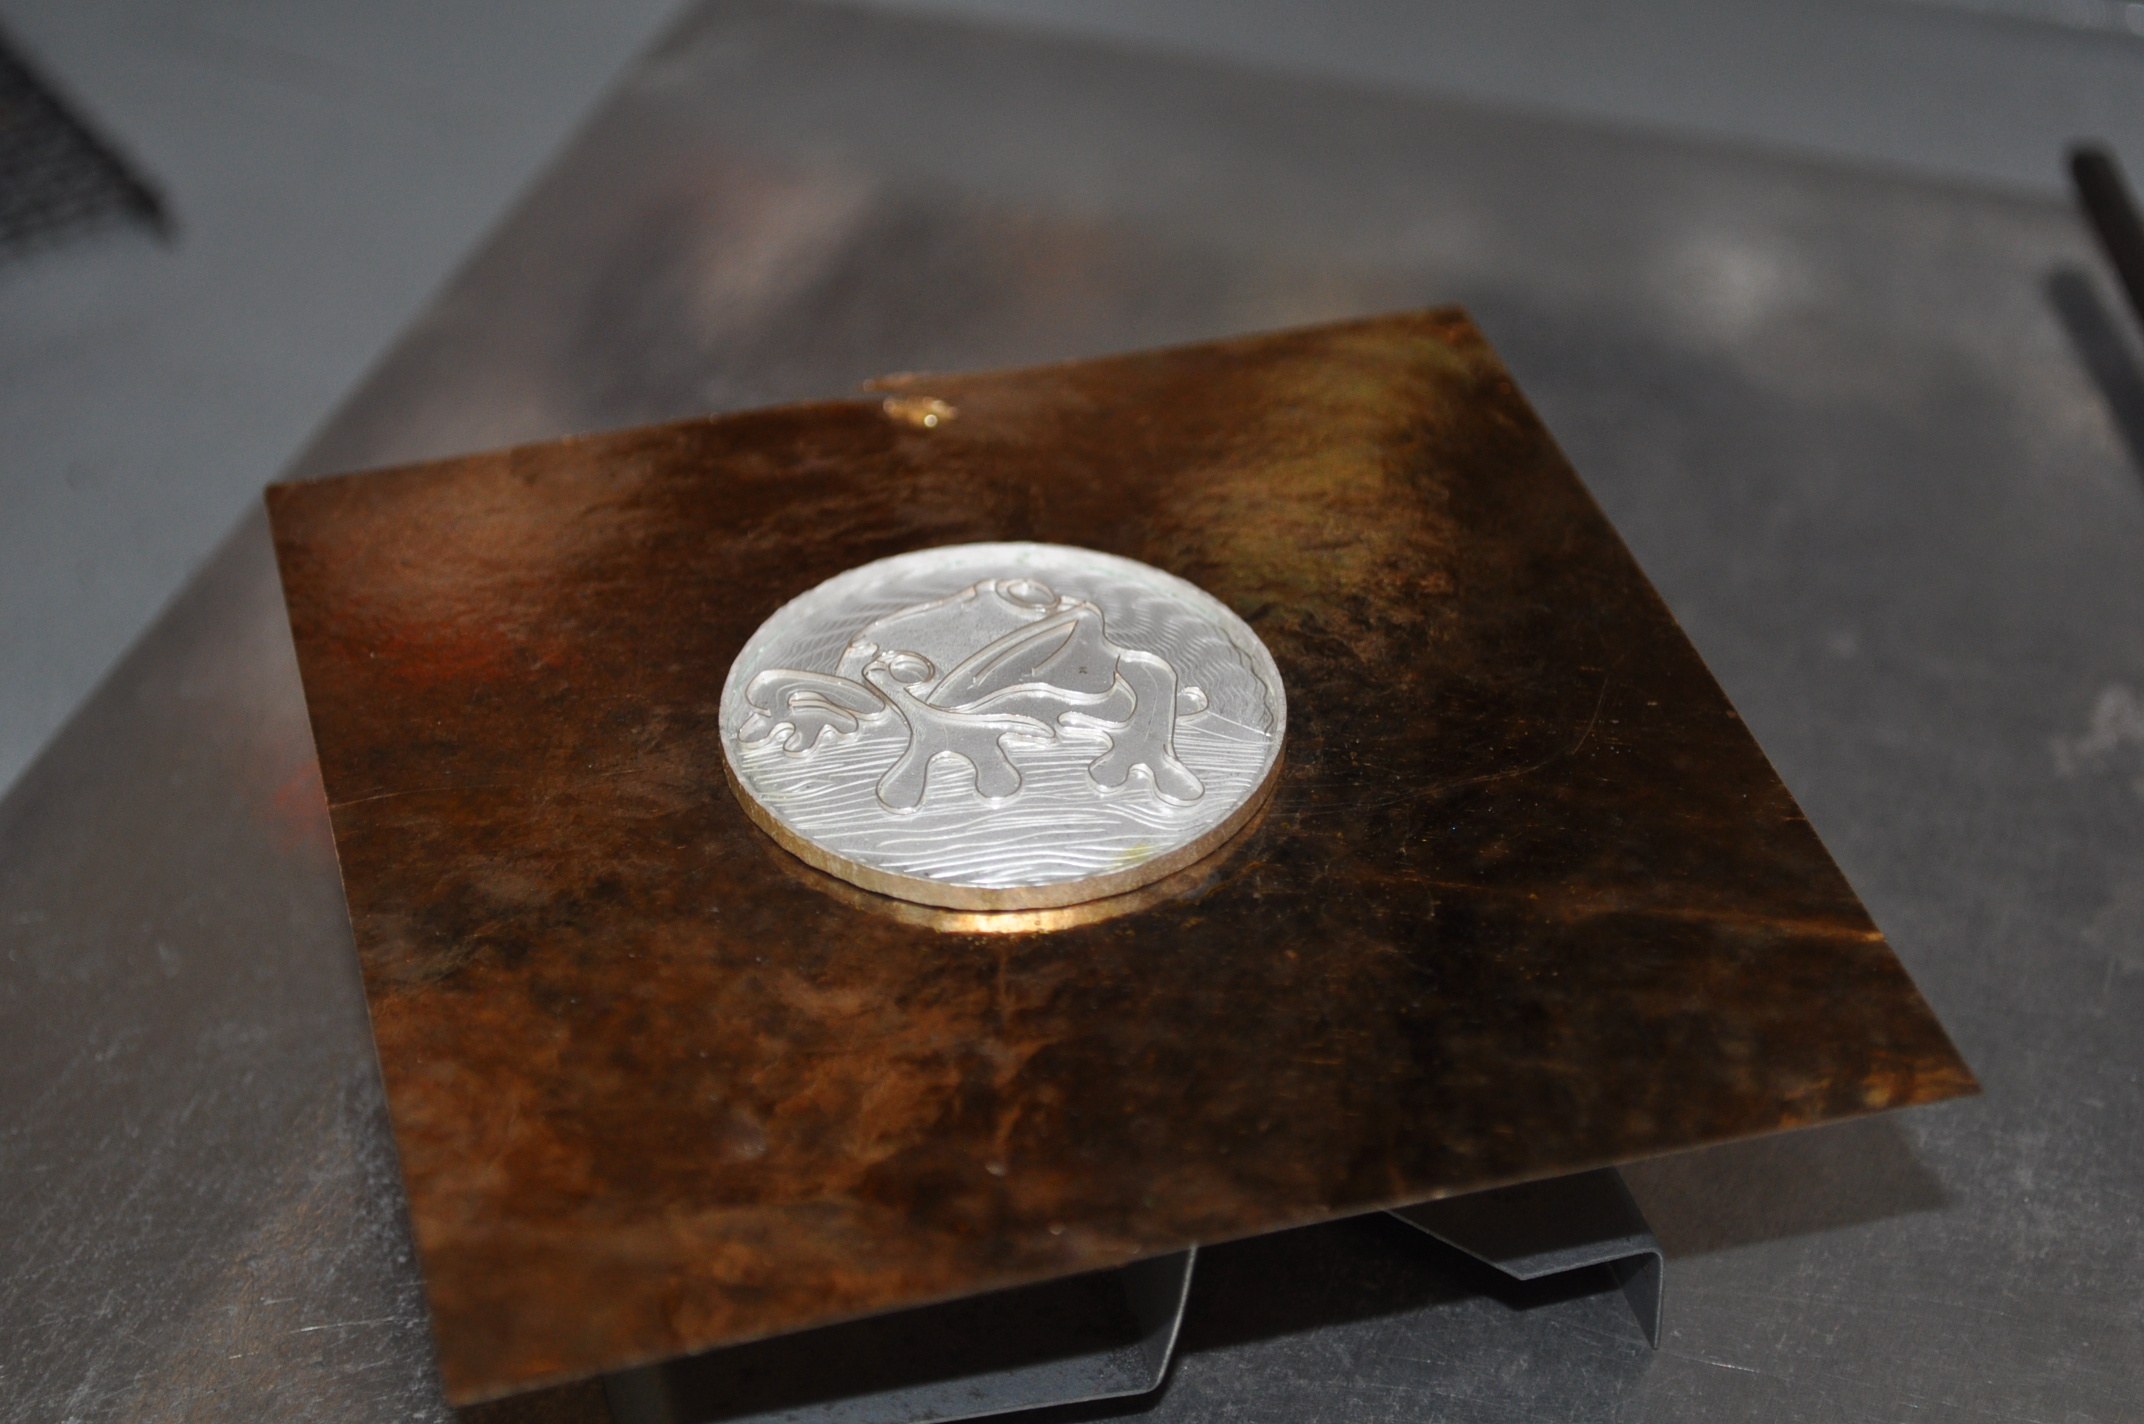
OK, now I'm ready to do the cloisonné wires....Well it's about time!
I follow the paper design and fine tune the wires to the engraving lines so they fit exactly. The doming makes it a bit more difficult to bend the wires so that they are in contact with the enamel surface. However, the engraving lines help in this respect by with showing me how the design changes when it's domed. Once I've done as much as I can it's ready to be fired.
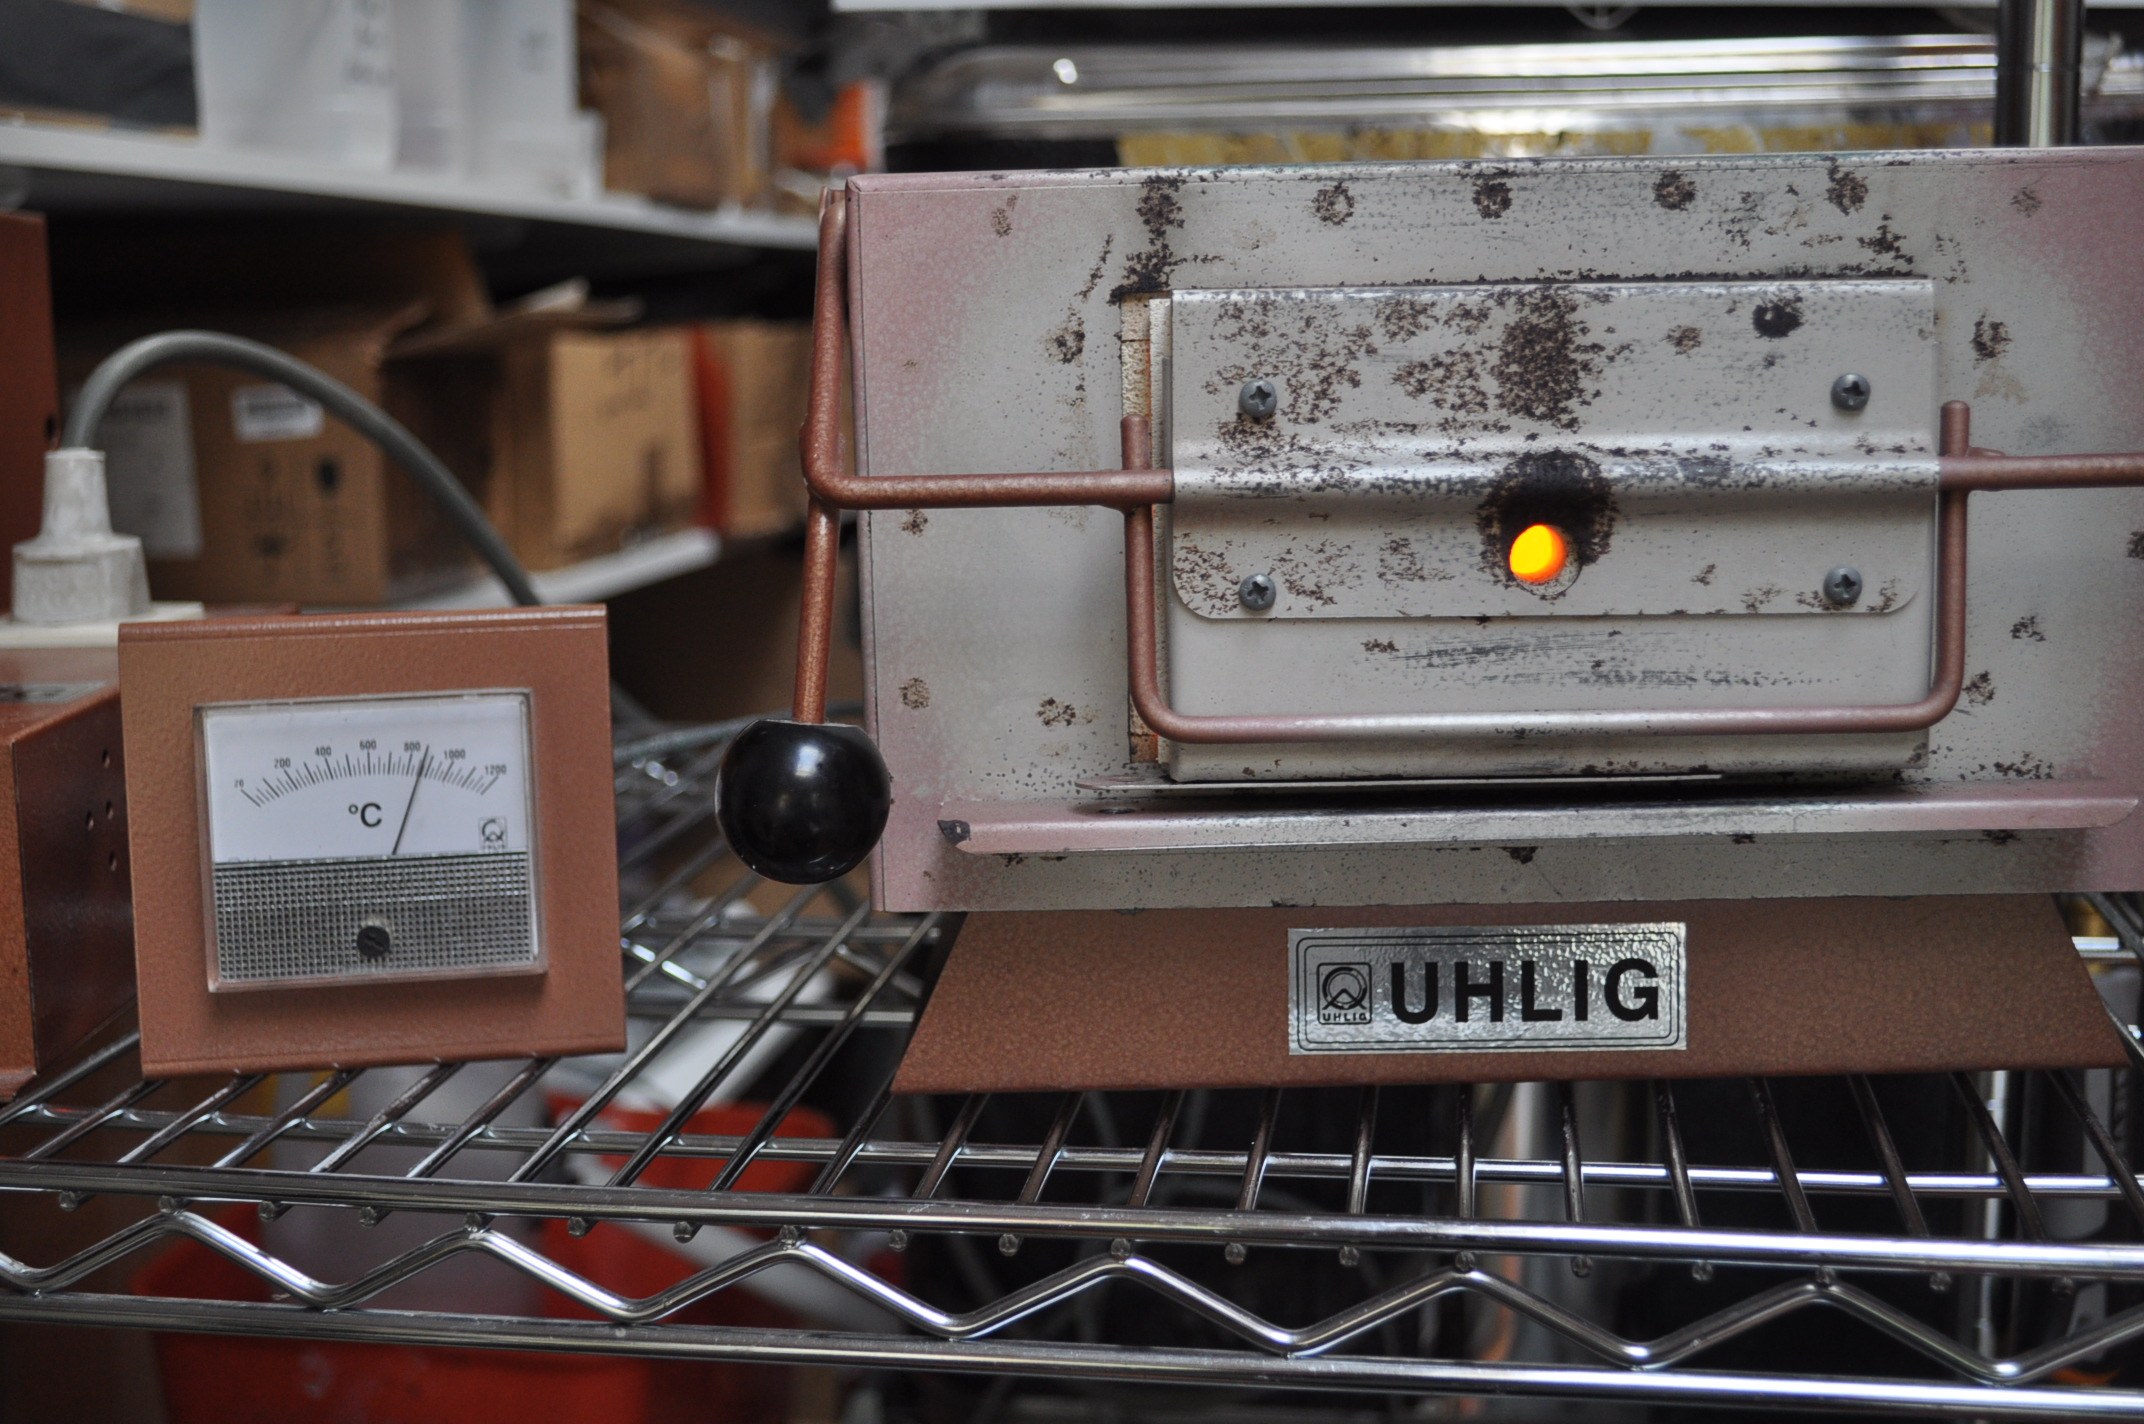
The kiln has been soaking for a while at 840°C so now it's stable and won't lose any heat when the piece is inside.
The wires are hard-fired into the hard enamel. Once out of the kiln and cooled down it's looking like this:
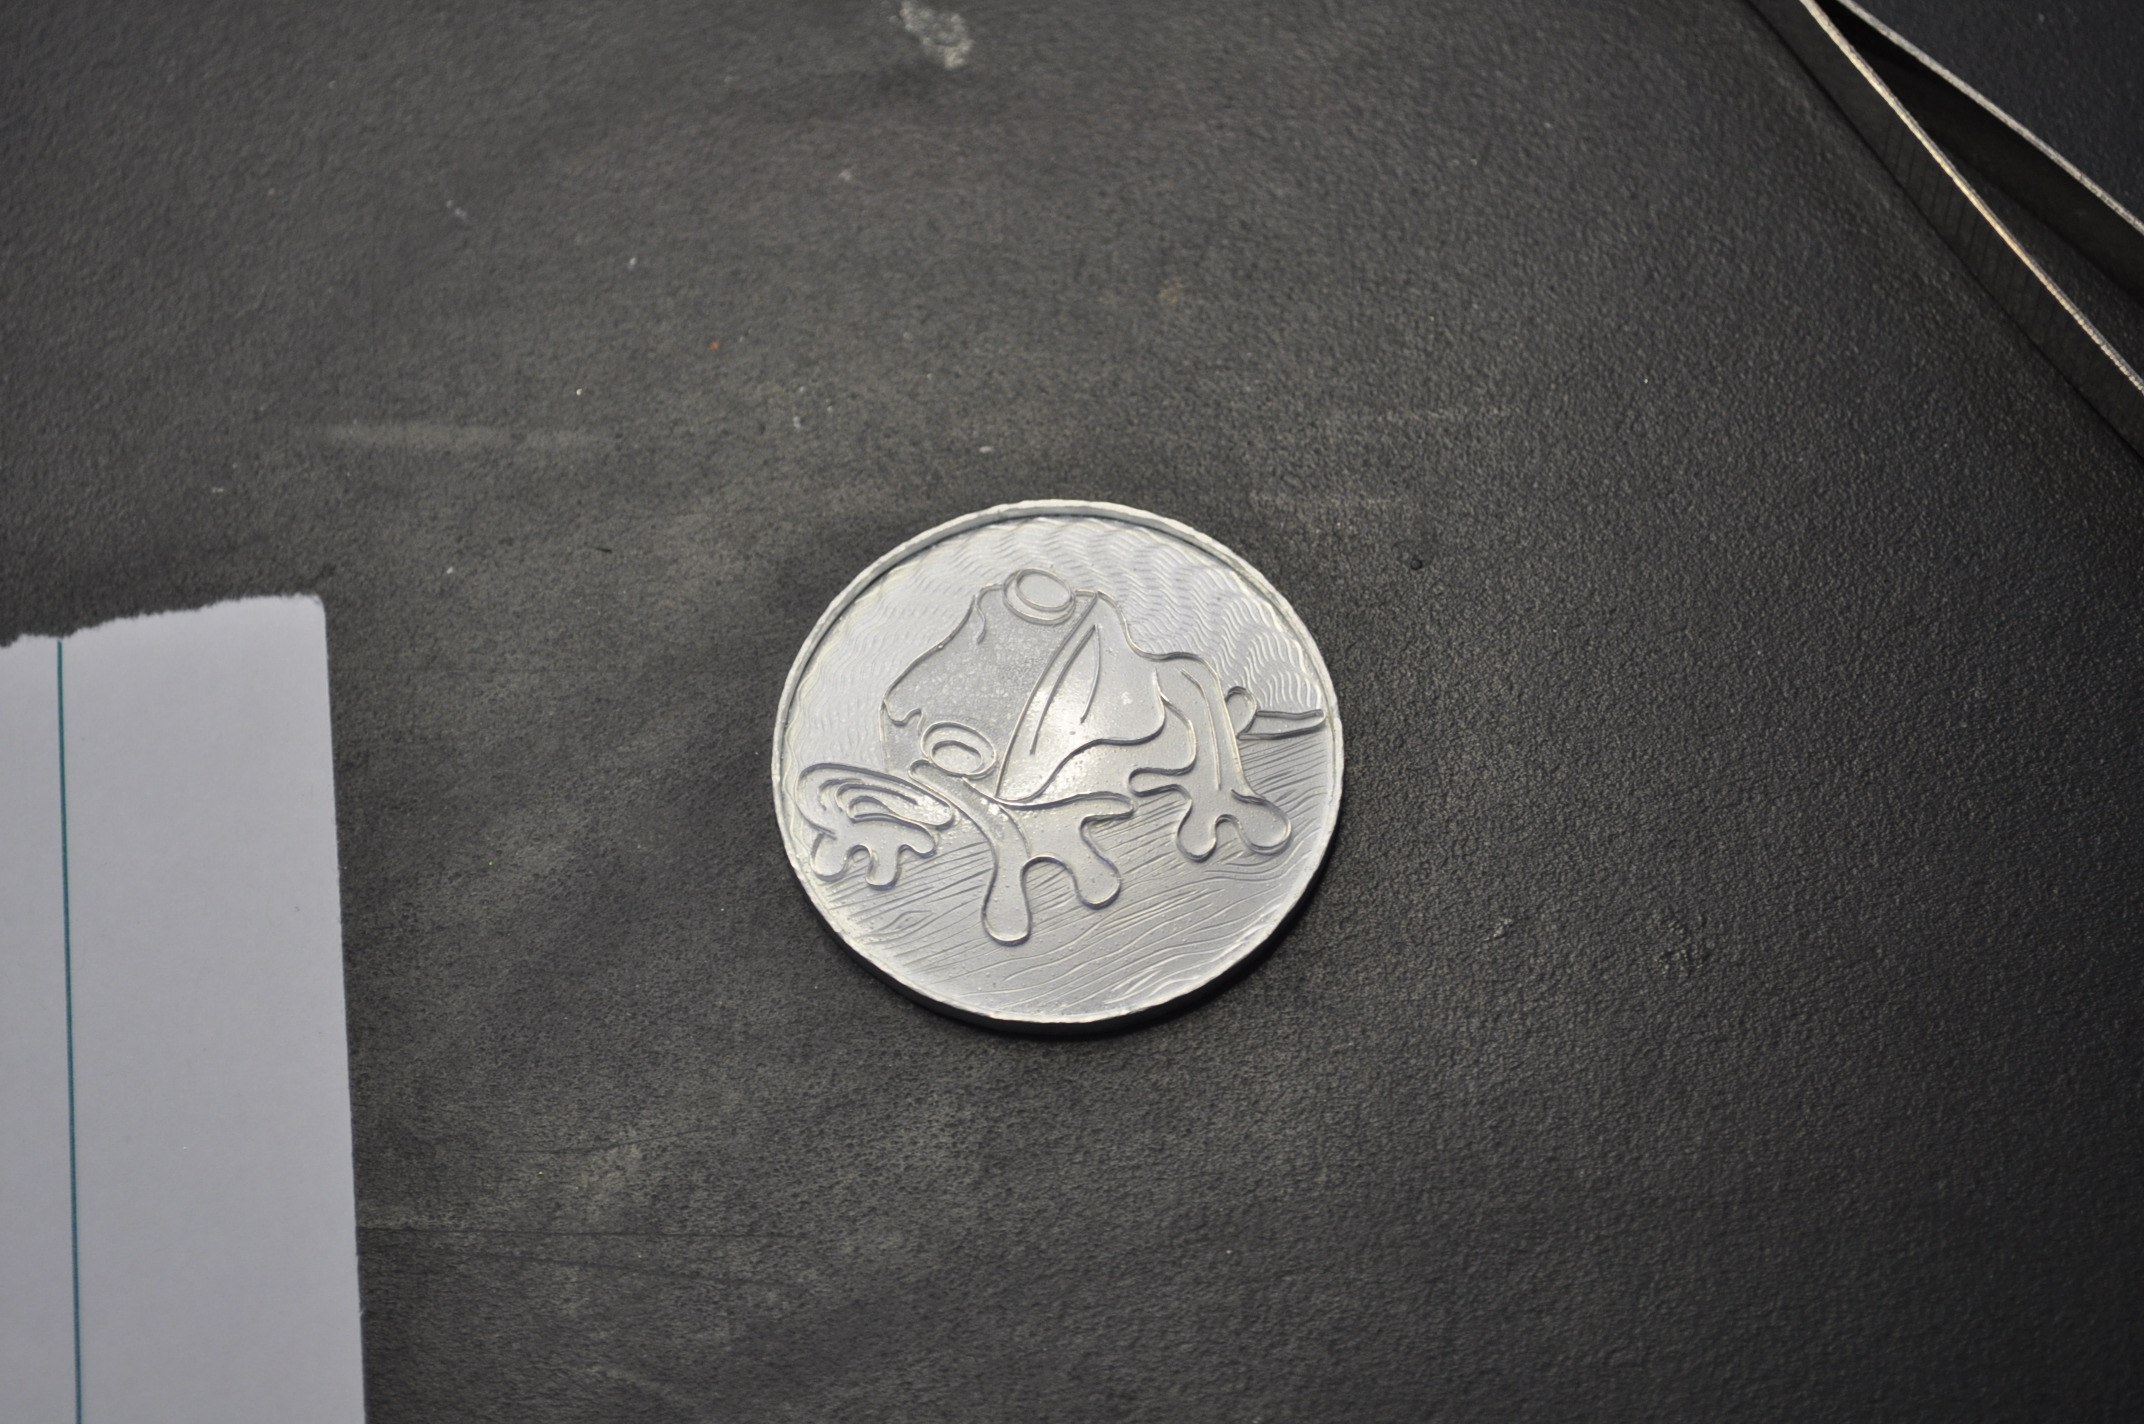
There's still a few wires to put onto the design, I try to put on as much as possible but sometimes it's just too fiddly to do them all in one go so I put the rest on in the next firing. Also, after the first firing of the wires, I can see some of the wires are not quite in their correct place. Since the enamel layer underneath is very thin it's possible to break those wires off the enamel and adjust them. Here's after I've done all that and fired it again:
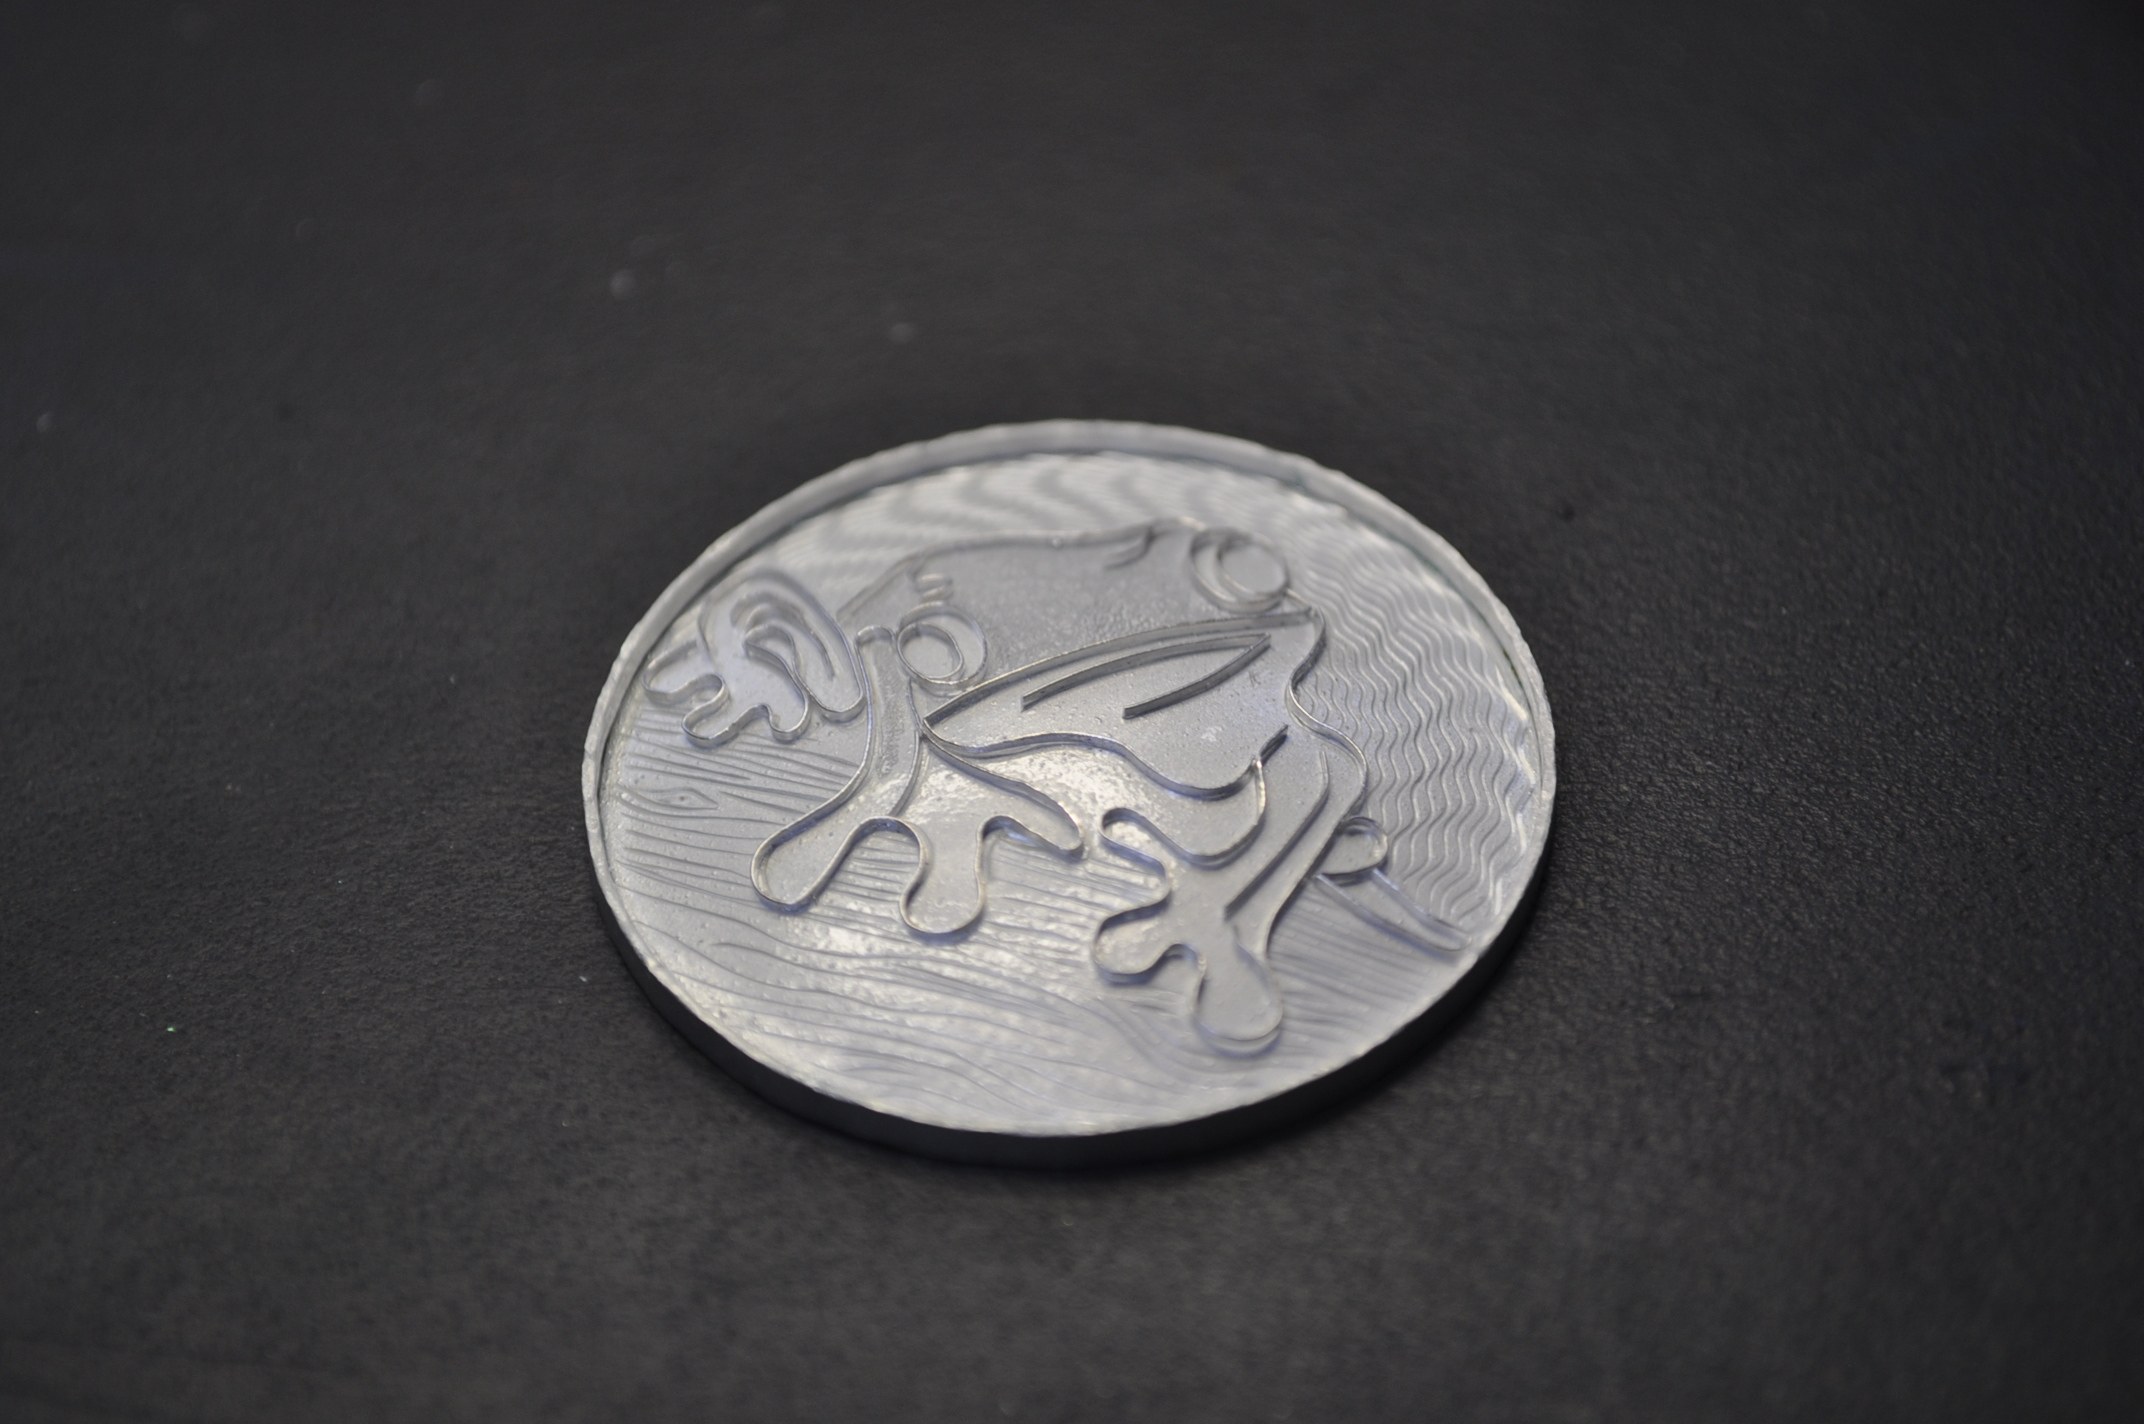
It's looking quite nice. Now it's ready to be enamelled!