I watched the case making videos by Roger Smith on YouTube and followed, in part, the steps that he shows on the vidoes. I'm using brass, though, for this initial trial not gold!
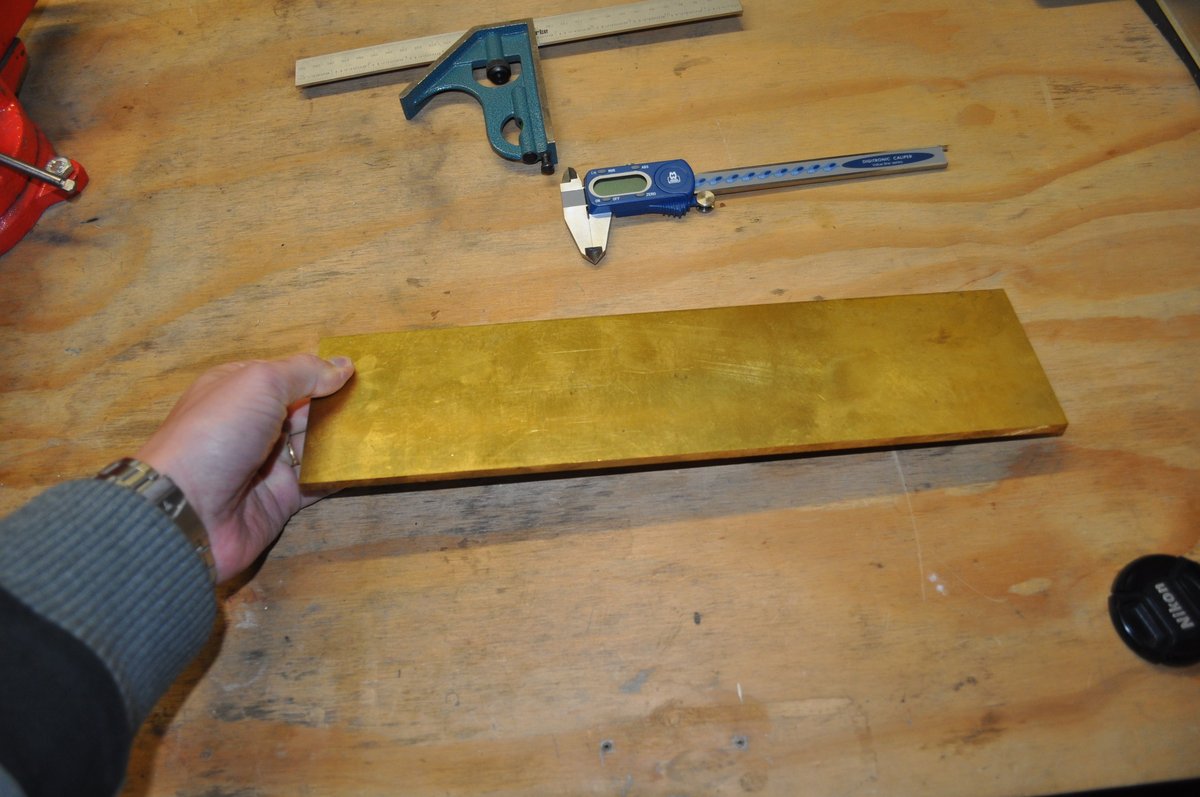
I've got some 6.4mm thick brass plate
 .
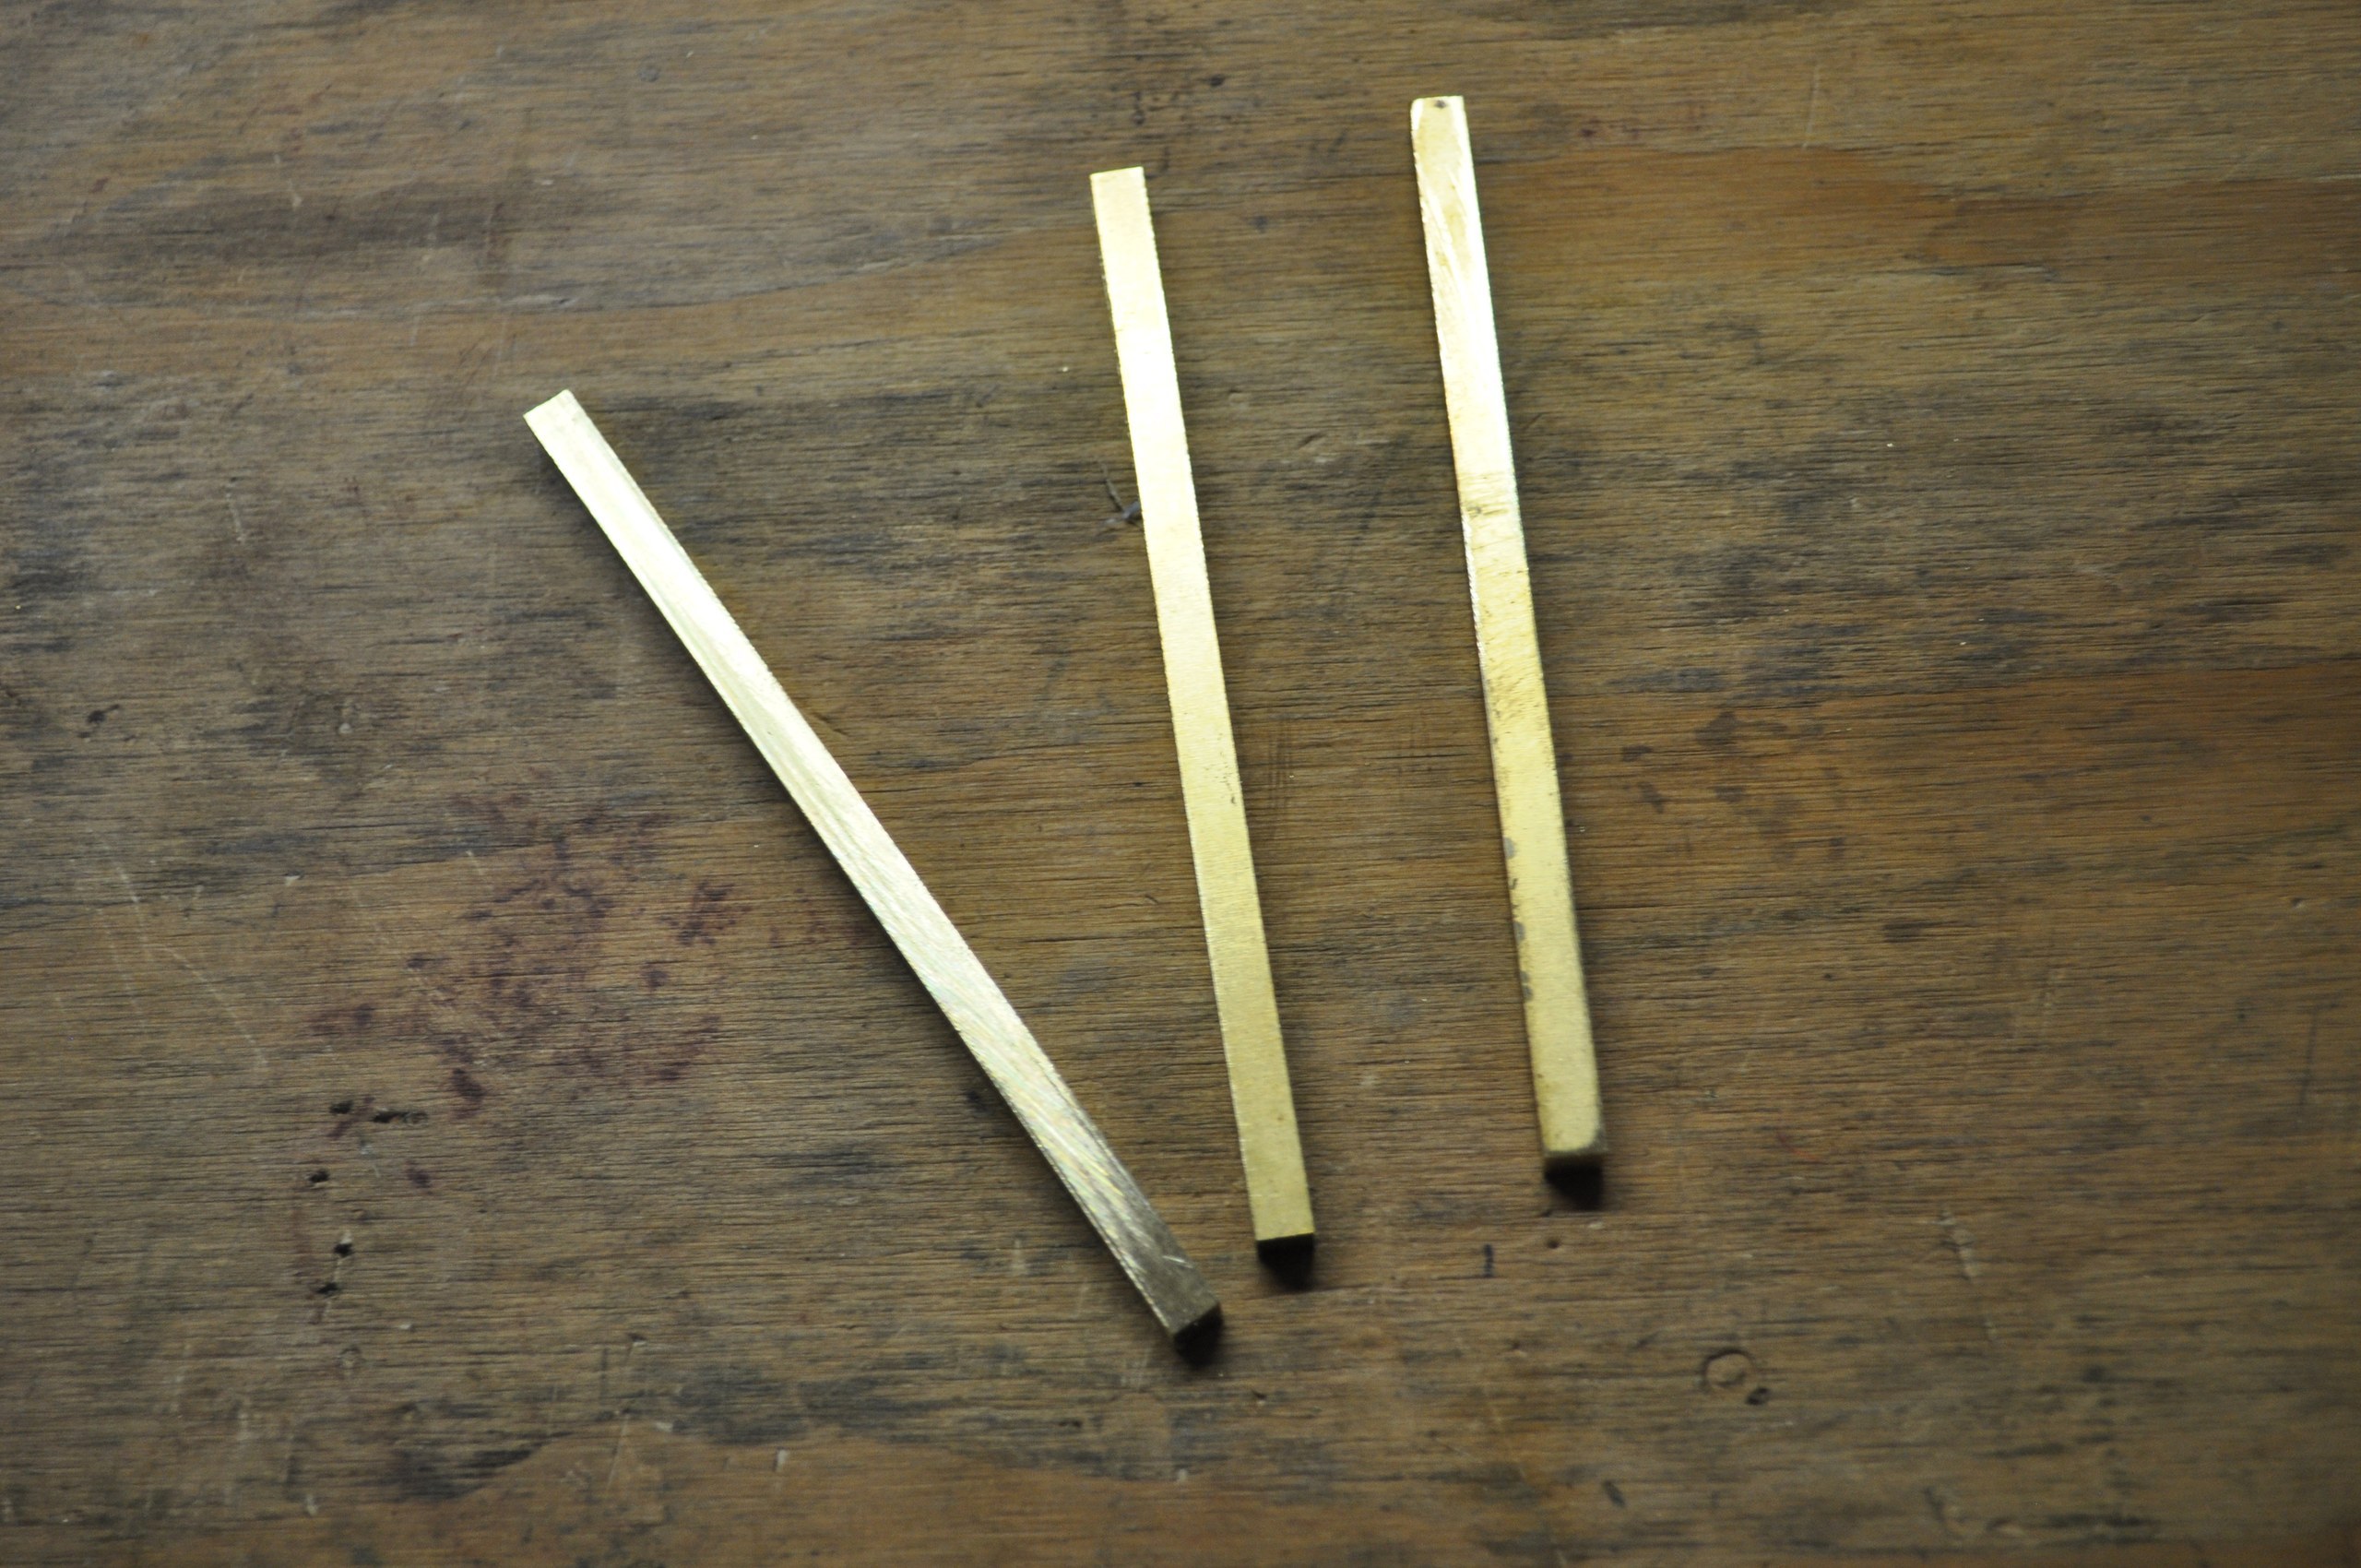
I'm going to cut a square or rectangular profile bars from the plate, each one 150mm long, so first I cut the 150mm length:
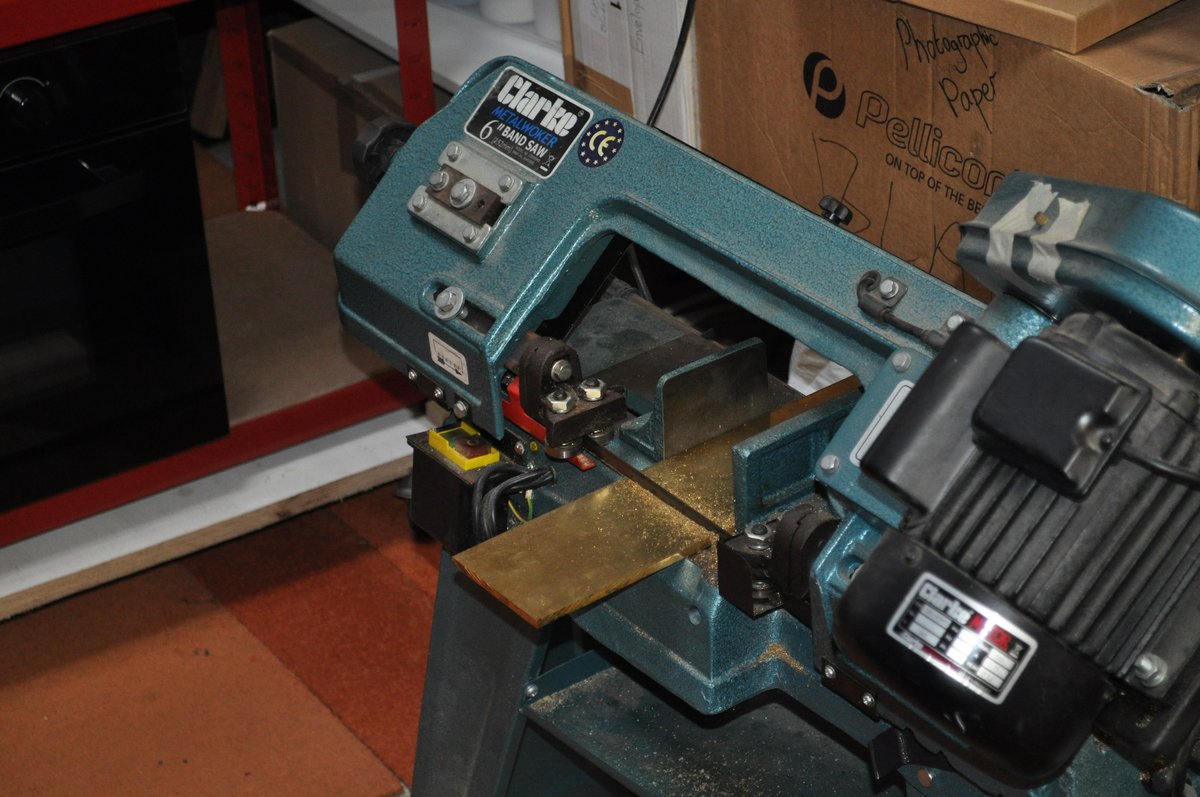 ,
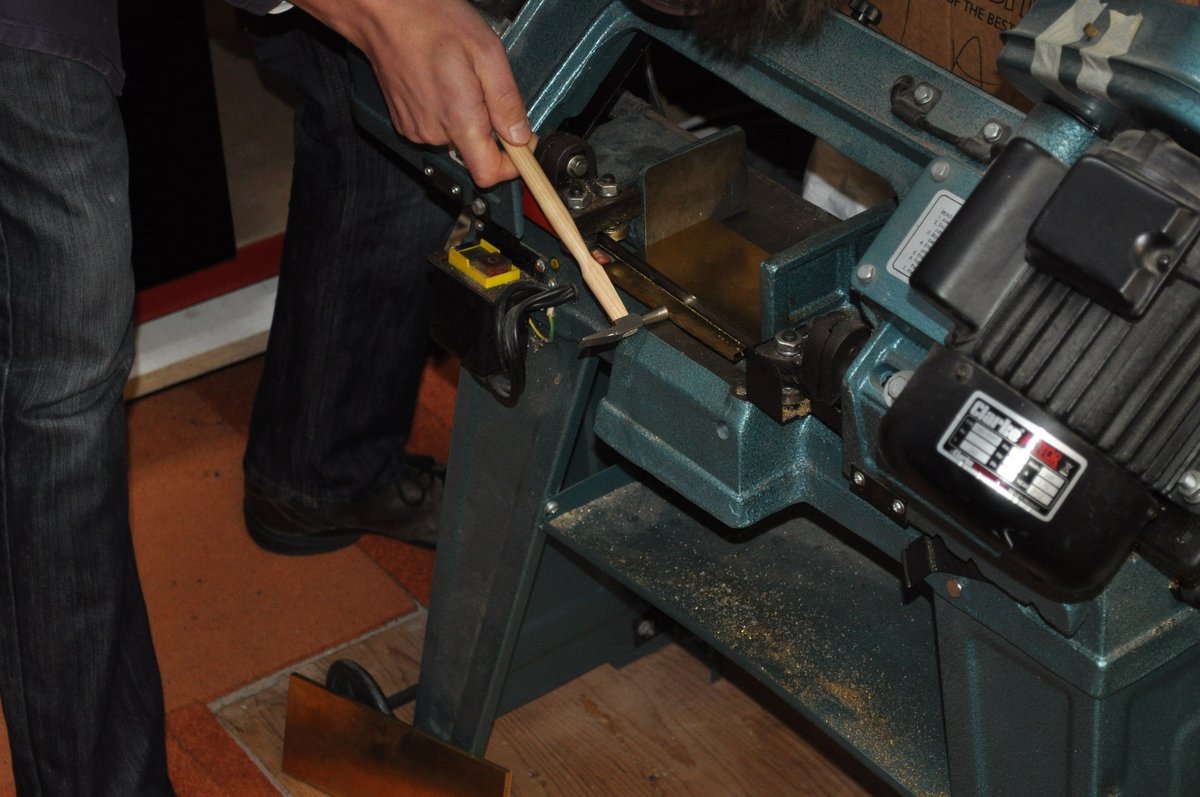
and then I cut the bars. The bandsaw is not the most precise tool but it's possible to adjust the positioning of the piece with slight taps of my watchmaker's hammer
 .
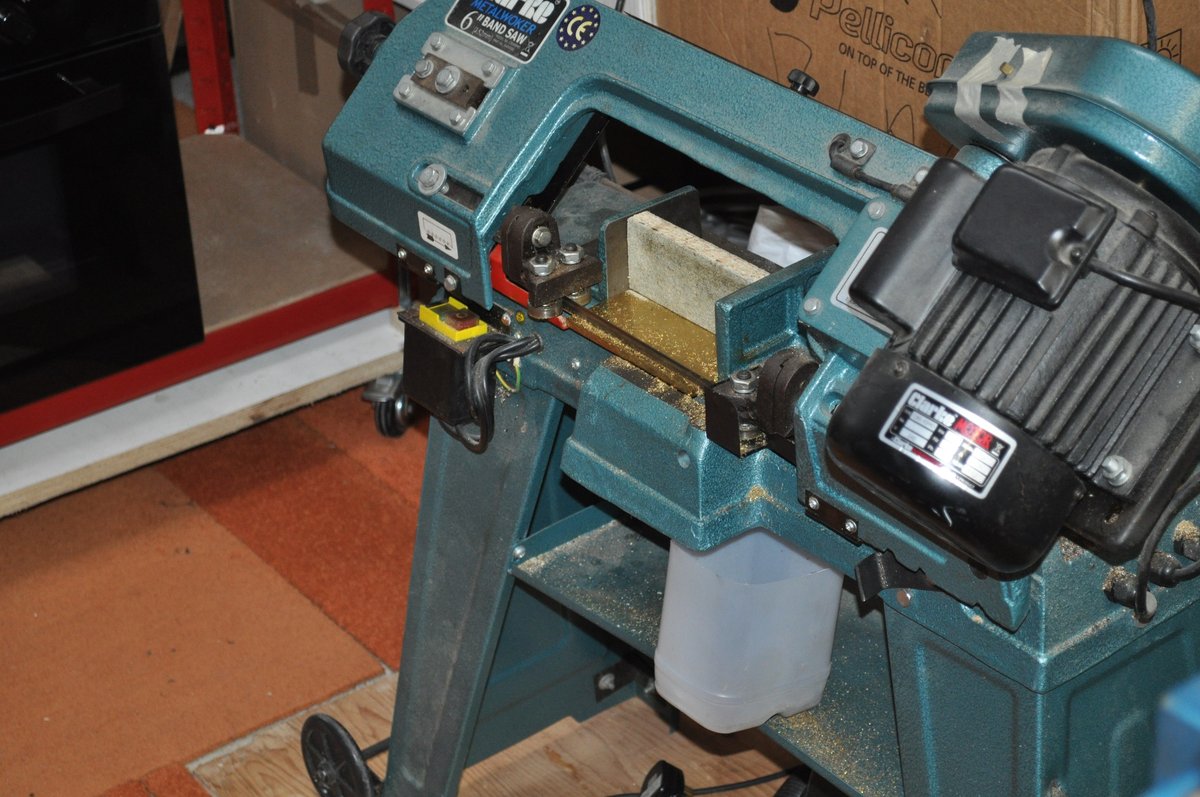
Now I can cut the bar with reasonable accuracy:
 ,
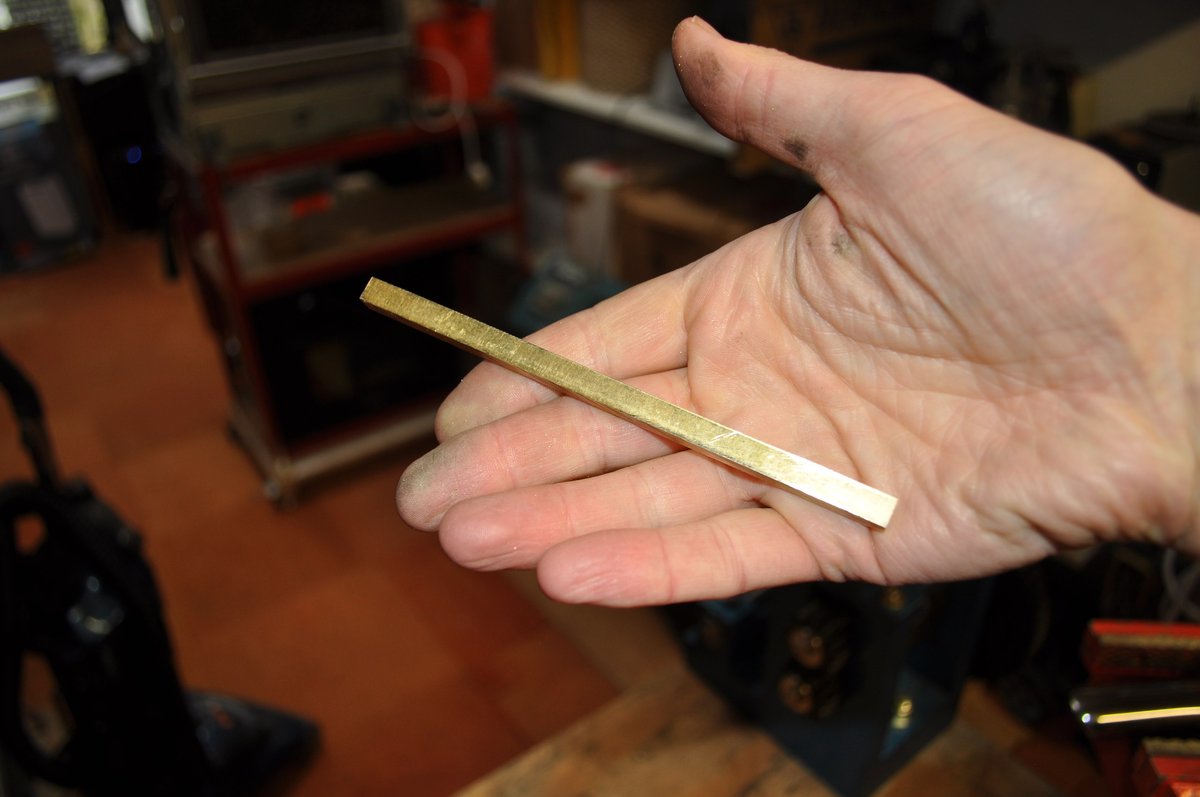 .
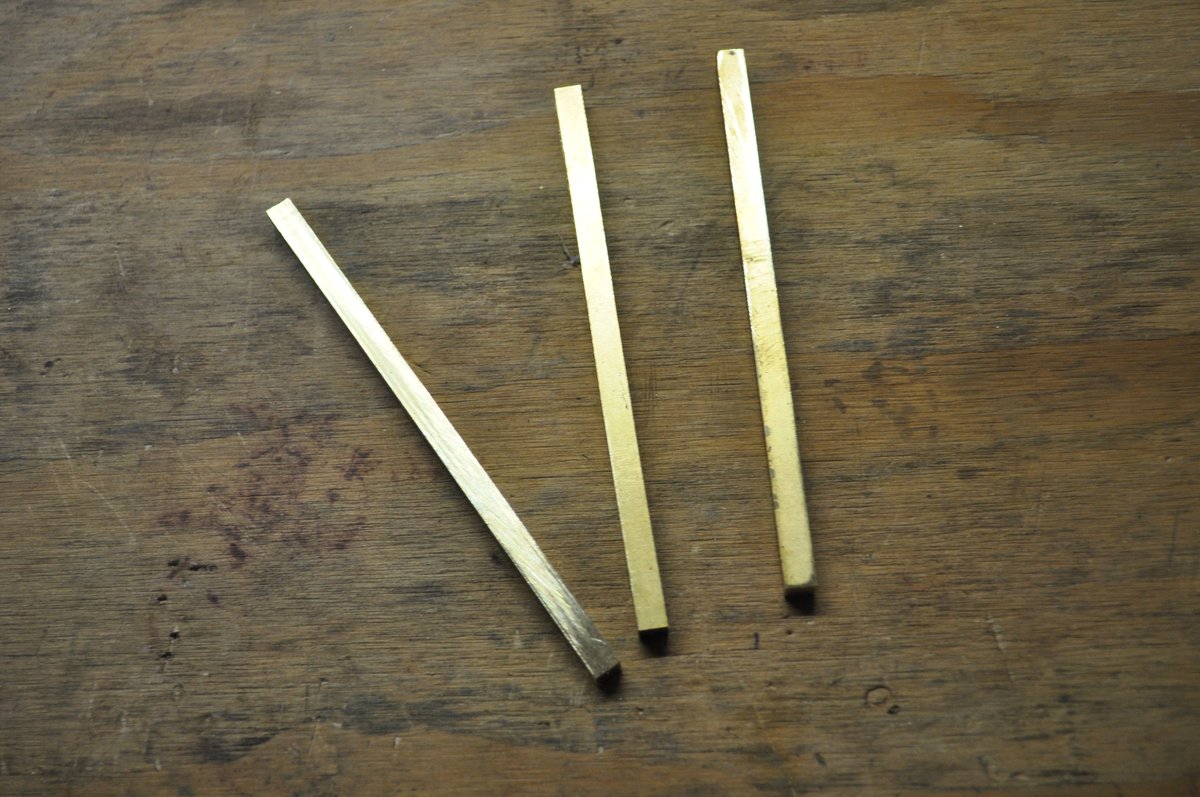
I make two more of these bars to give me a set of three
 .
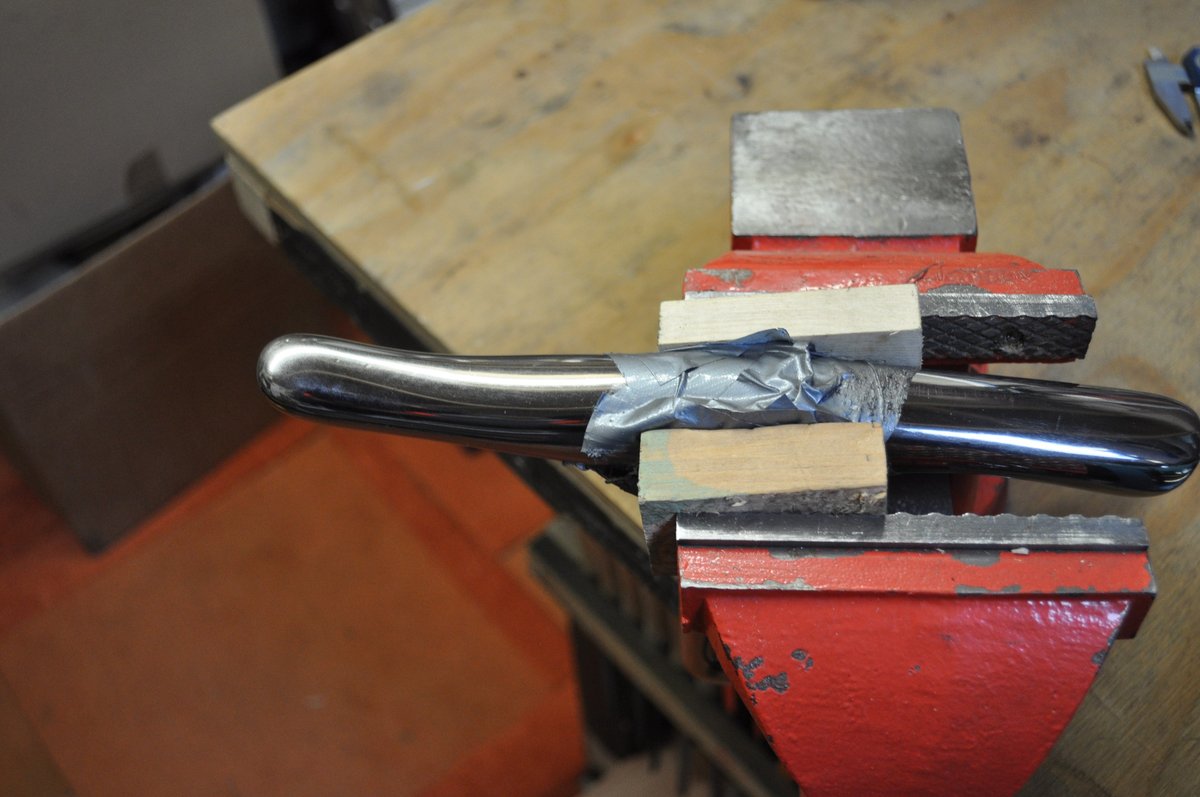
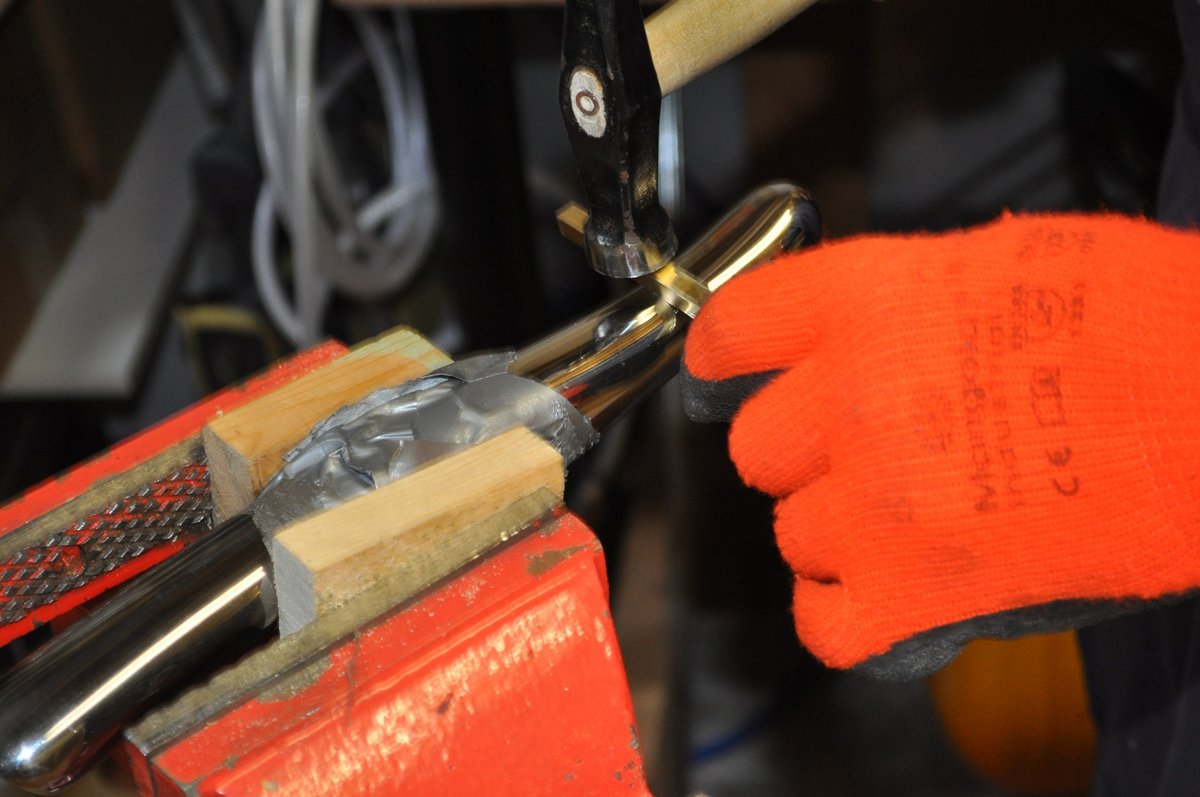
Next I deviate, a bit, from Roger Smith's method and form the rings by hammering the bars around a stake. It serves the same purpose as using a die to form them, only, I haven't made the die yet. I enjoy hammering the bars anyway!
I'm using this universal stake, it's not ideal for hammering rings as it's curved in all sorts of places but it is sufficient
 .
I wear these great, all purpose, latex gloves from Marigold; they soften the recoil impact on my hands
 .
I also ware ear protectors.
I'm finding the bar too difficult to form so it could do with annealing
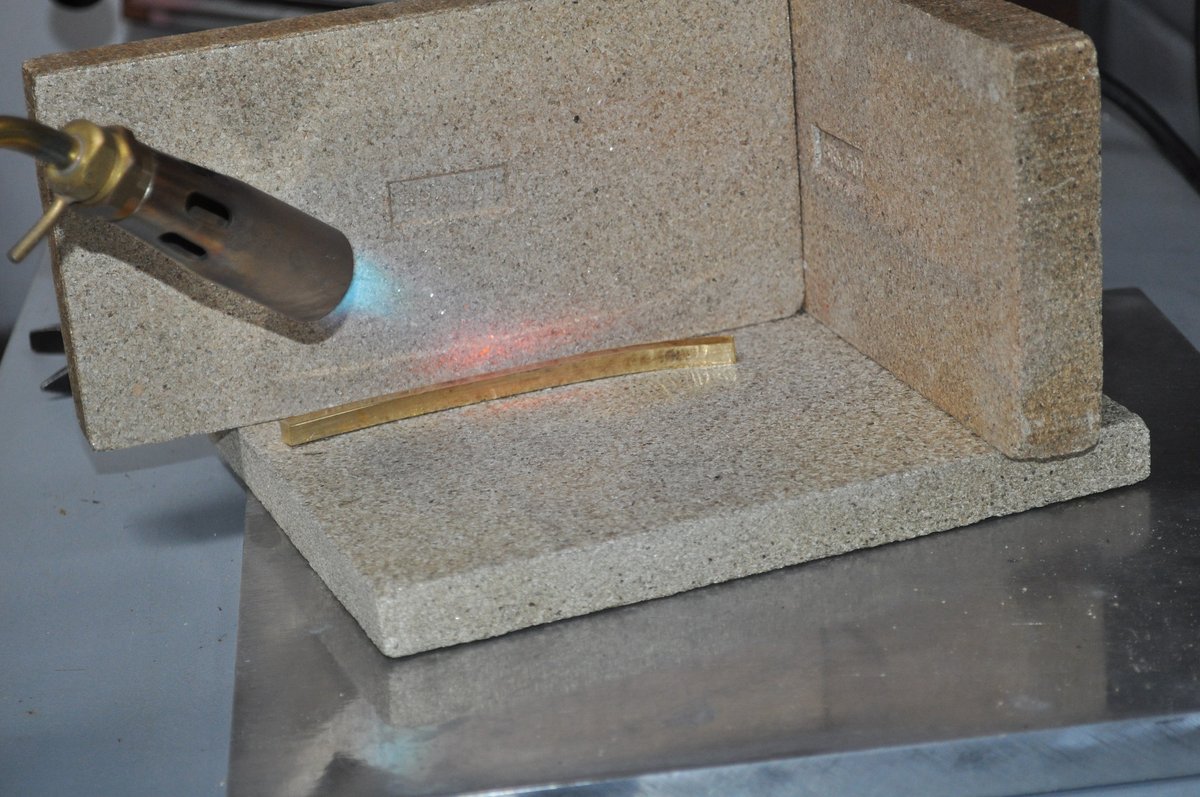
It's heated to a dull red heat, for this it's easier to see in slightly subdued lighting,
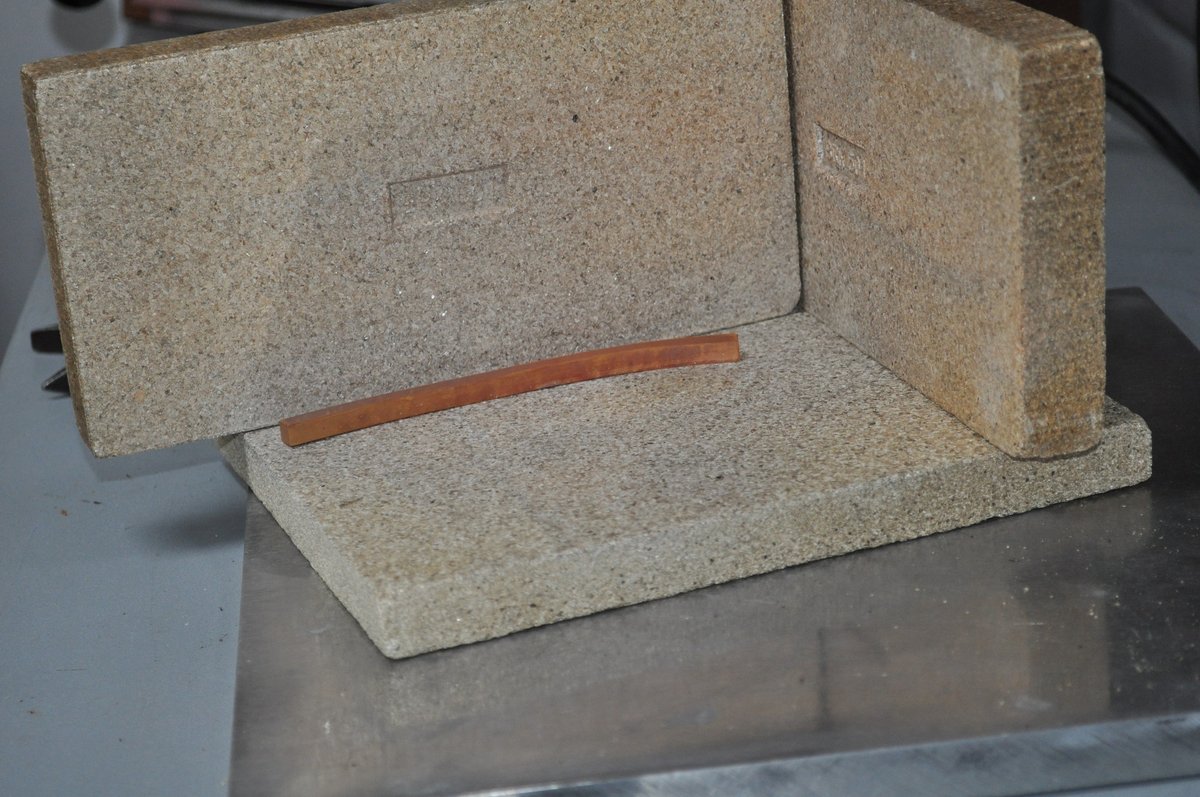 ,
then the bar is allow to rest for a few seconds before rapidly cooling it by plunging into water.
Now the bar easily forms to a ring. The ends are not flat enough to solder a good joint so they need sawing flat. To cut both ends flat I position one of the ends below the other, by hammering down one side so the ring looks like the start of a spiral. Then both sides can be cut carefully so that the edges are going to form good joins with each other.
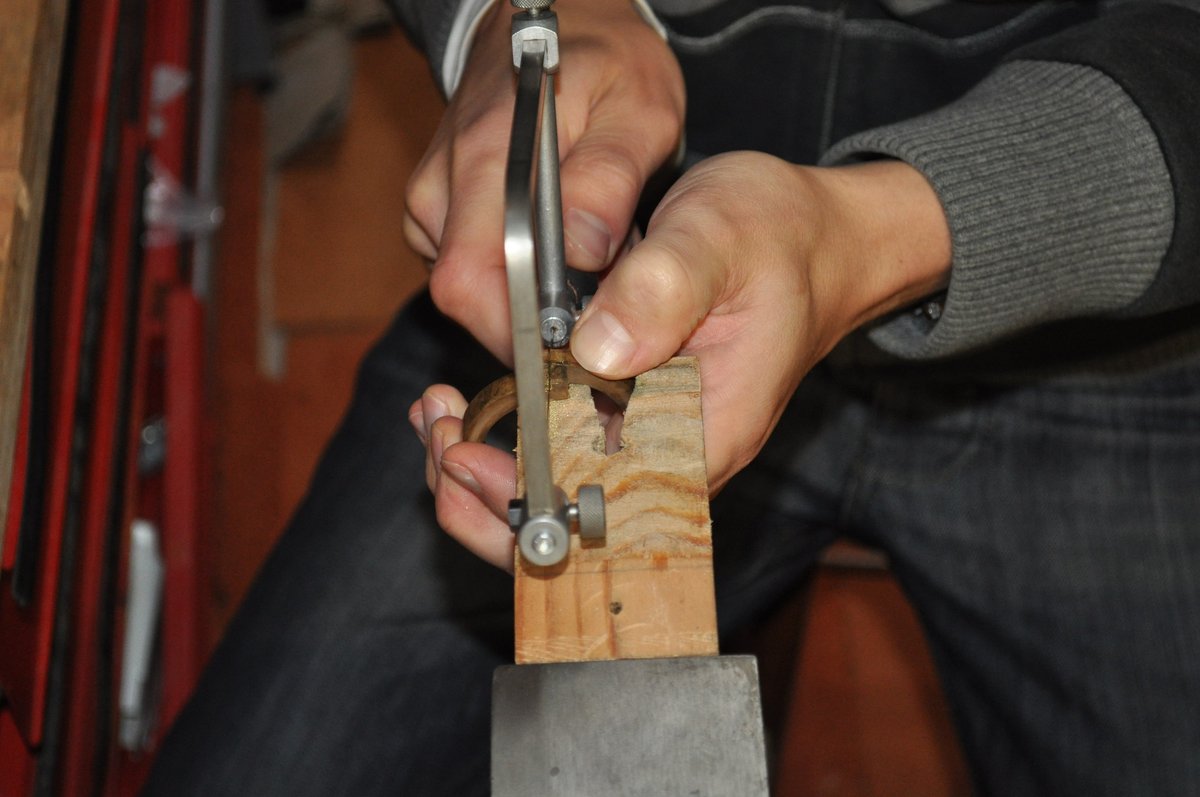 .
At this stage the ring doesn't need to be circular, in fact I found later that an oval shape is easier as it allows the two ends to meet together less on a curve. Here's my first attempt at forming the ring
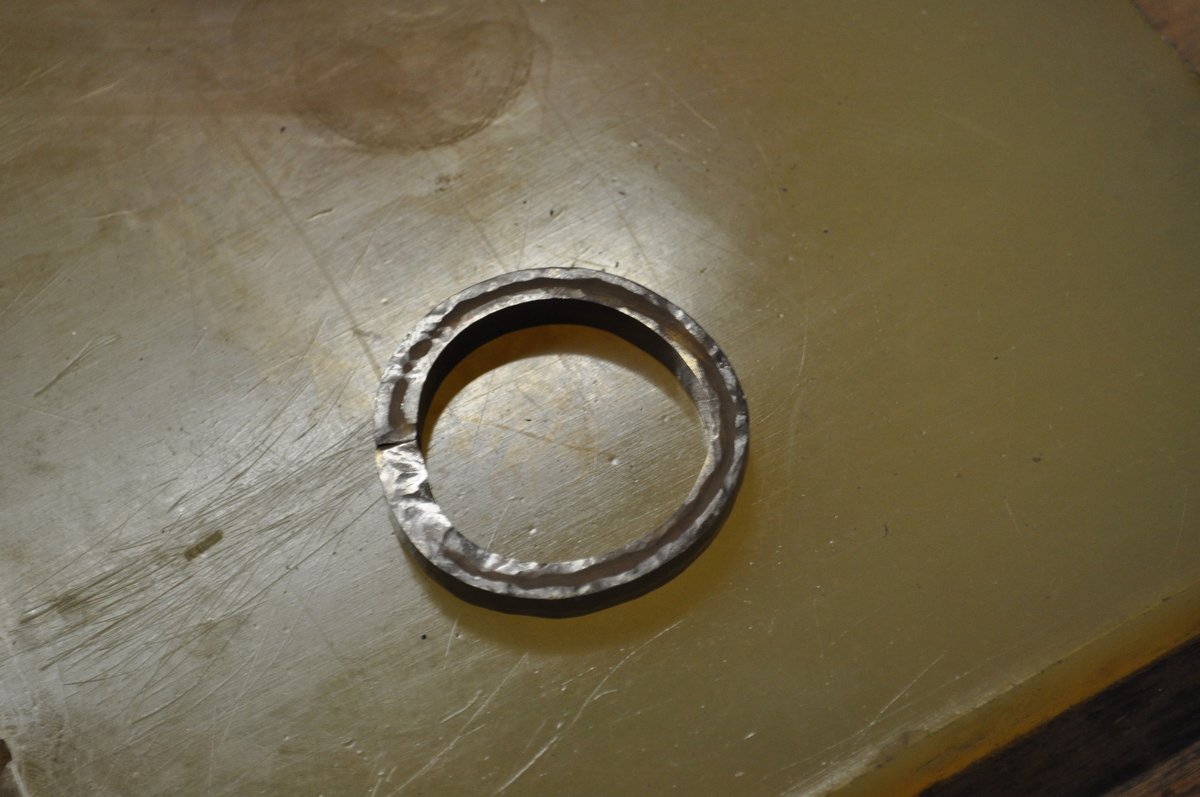 .
As you can see the joint is reasonably close
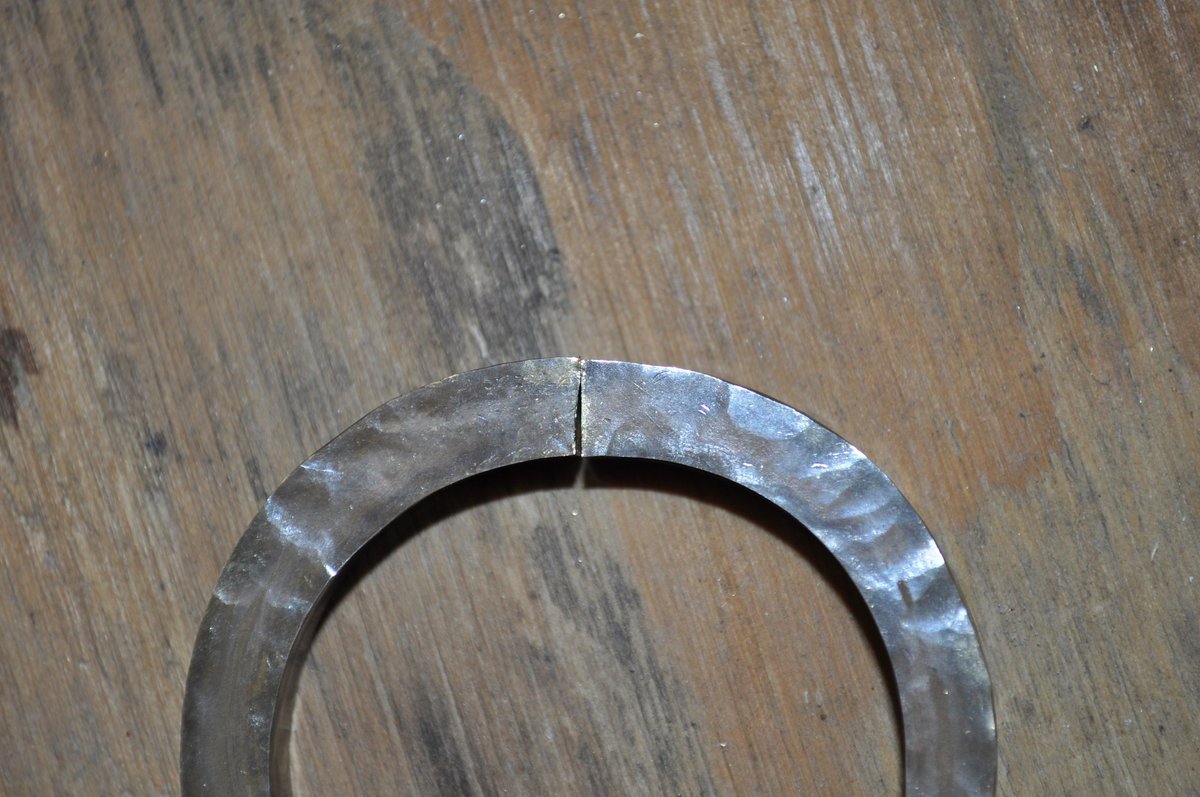 ,
although I got better at this with practice!
The next step is to solder the ring.