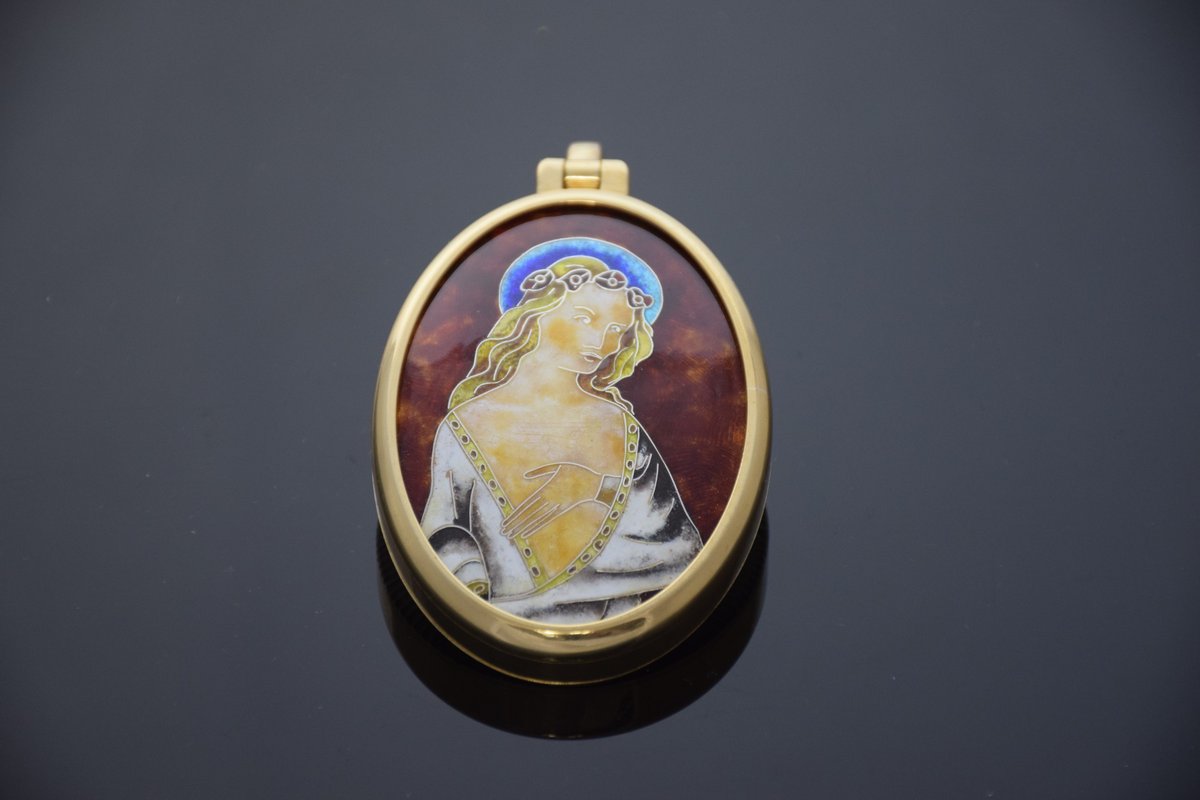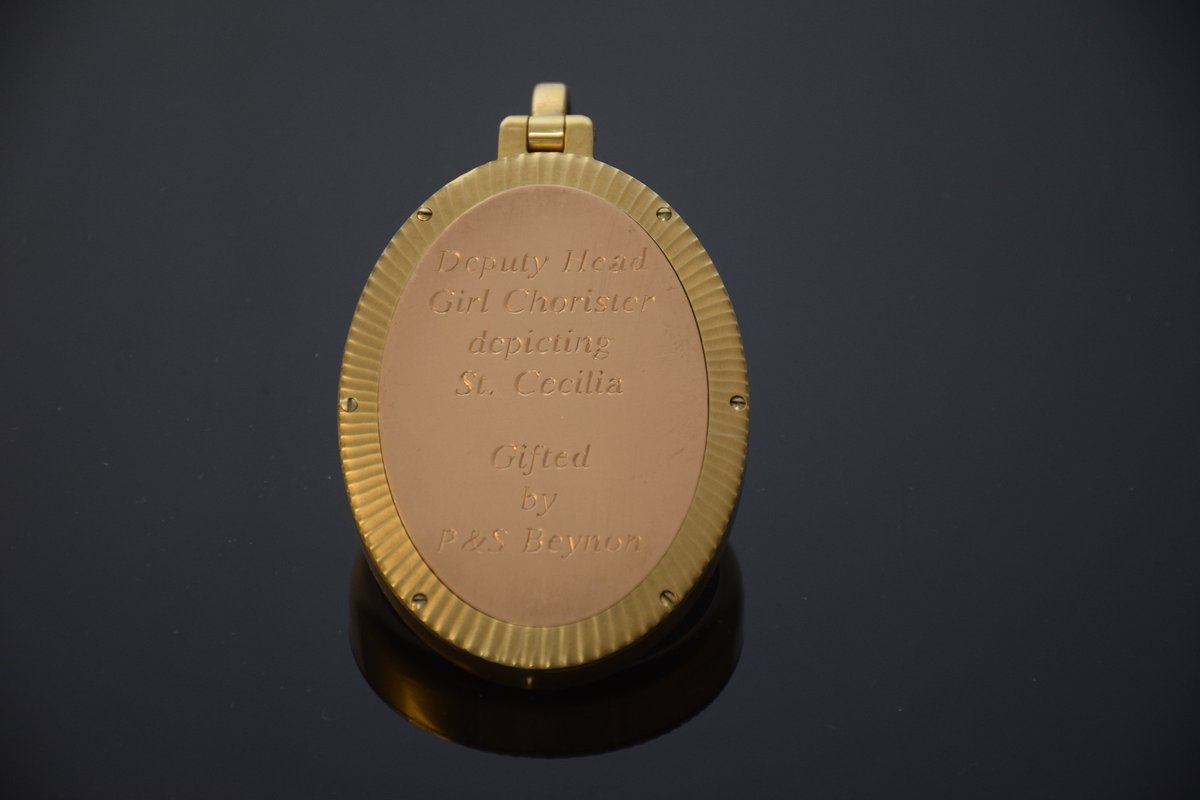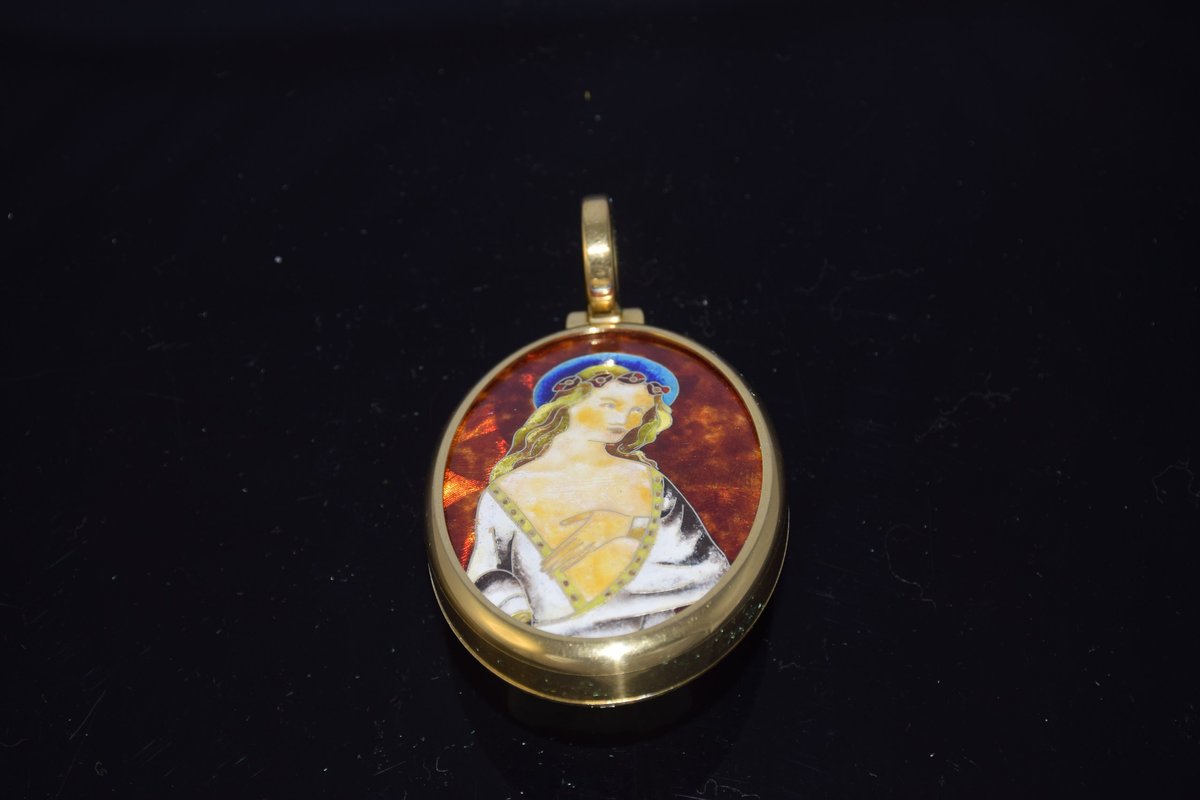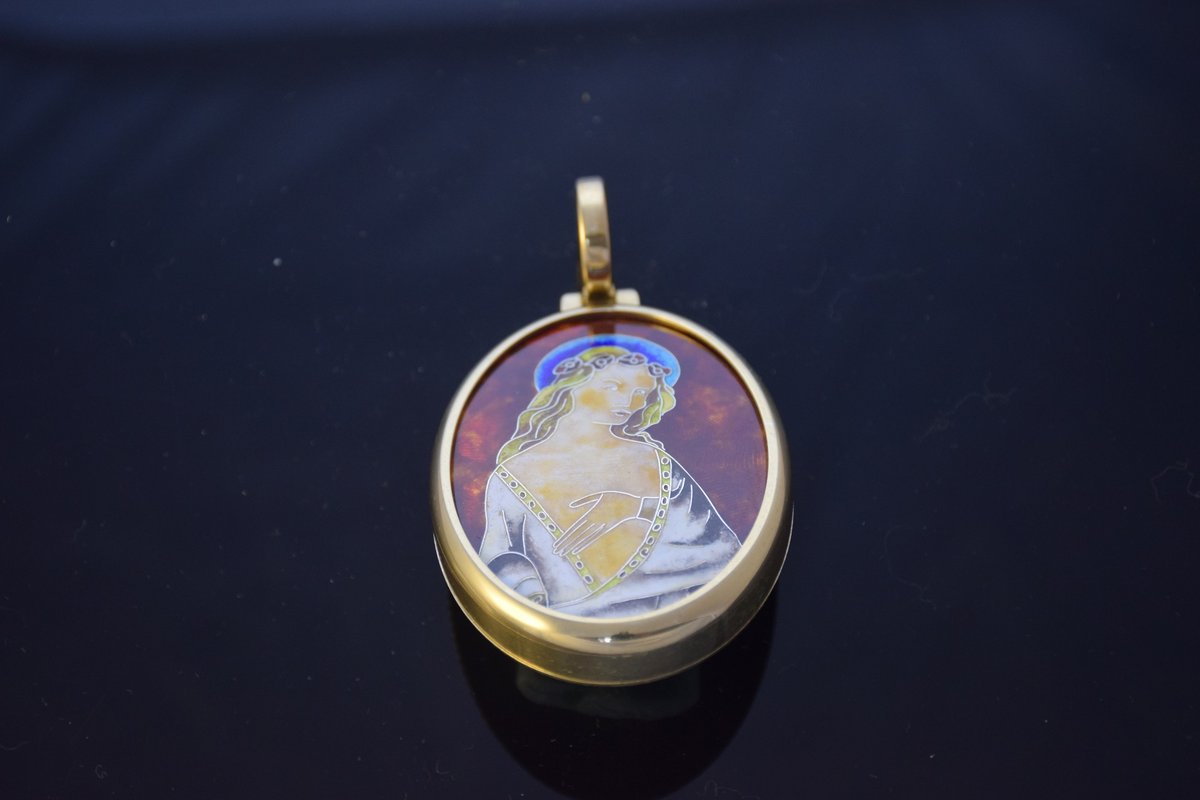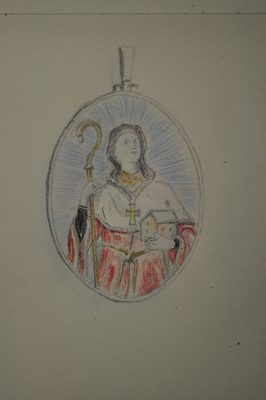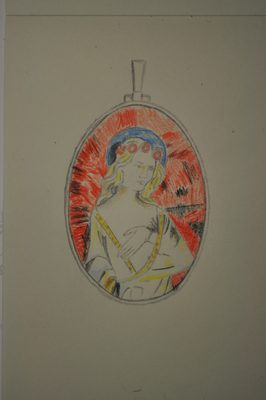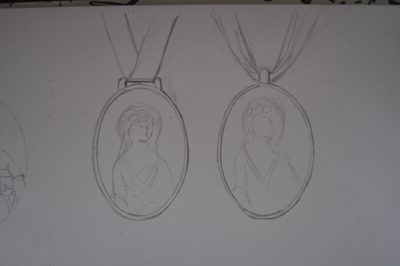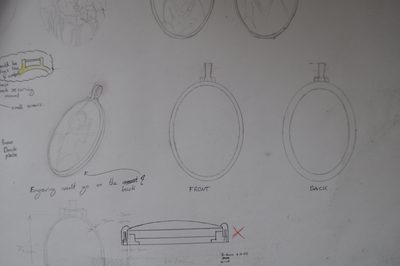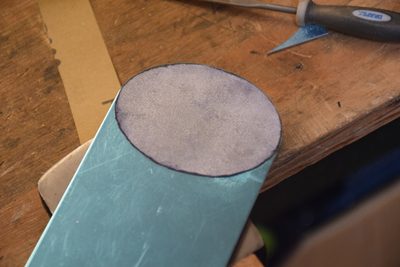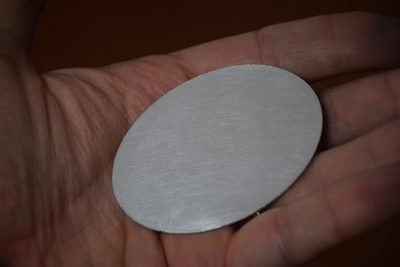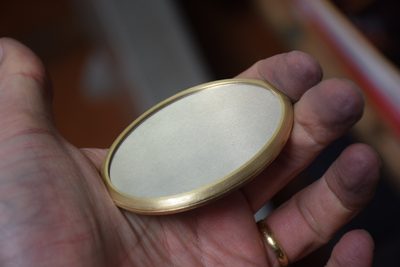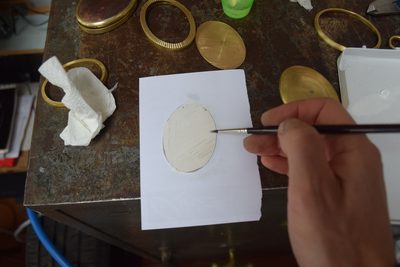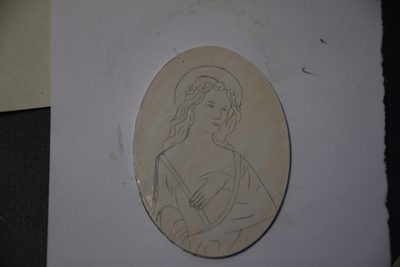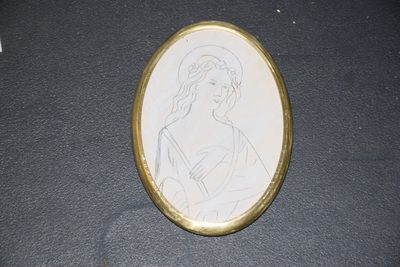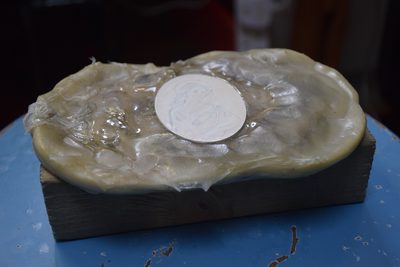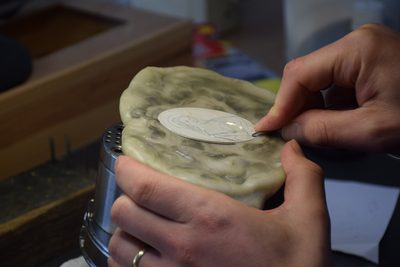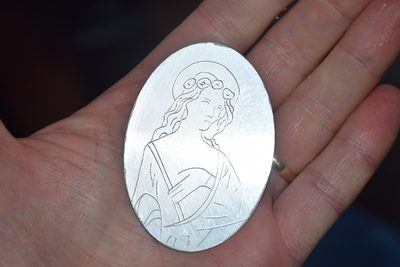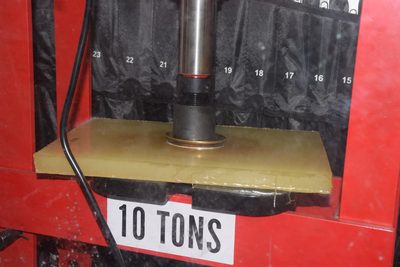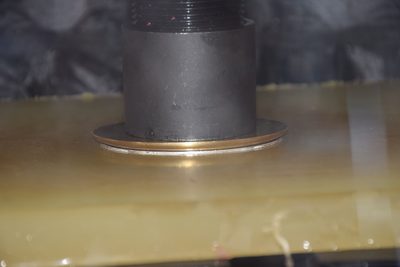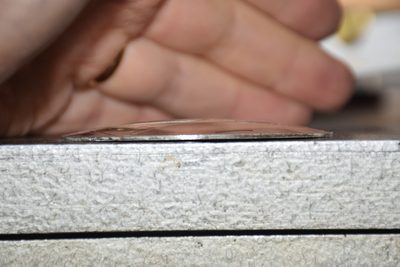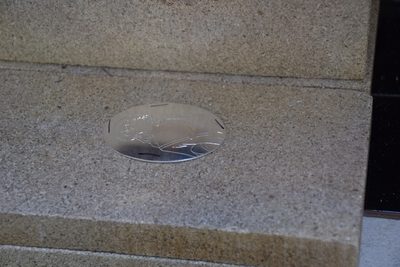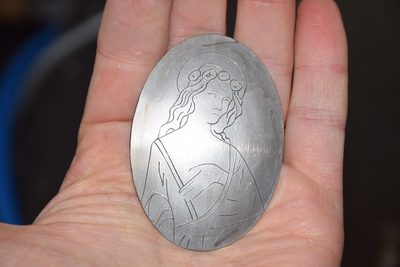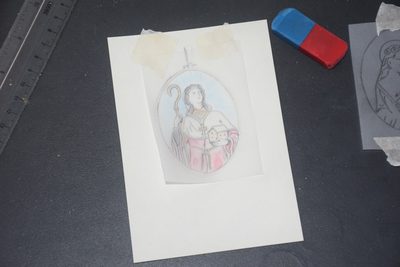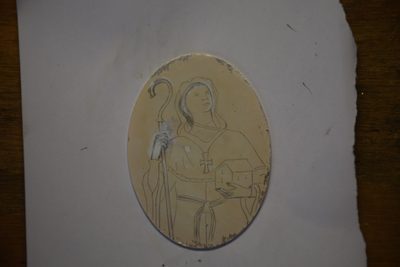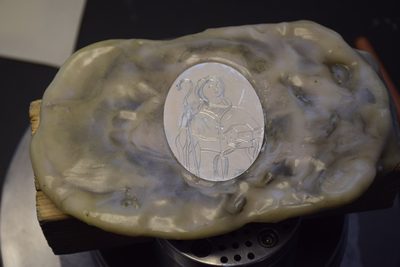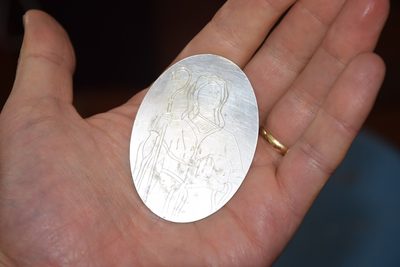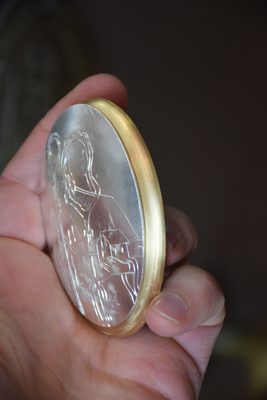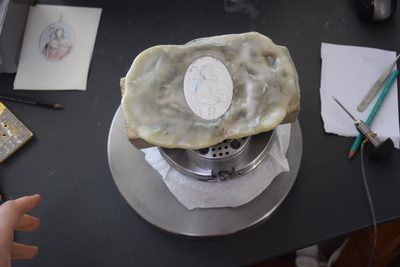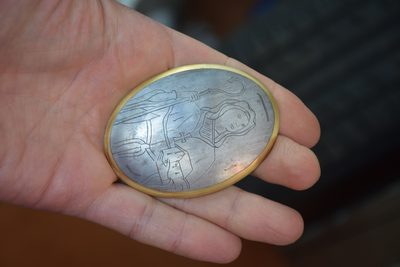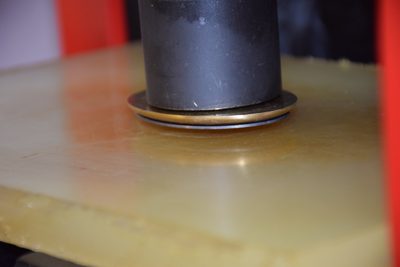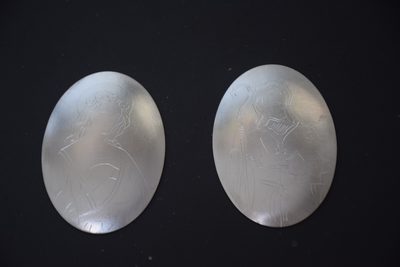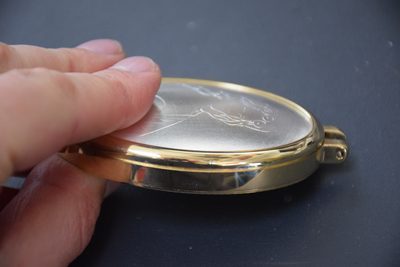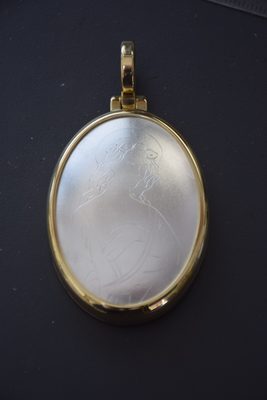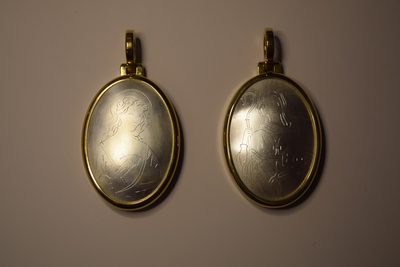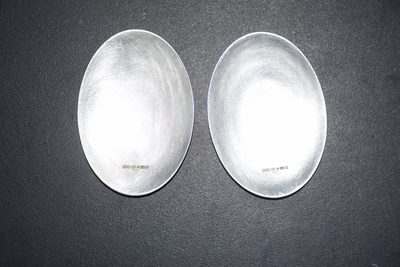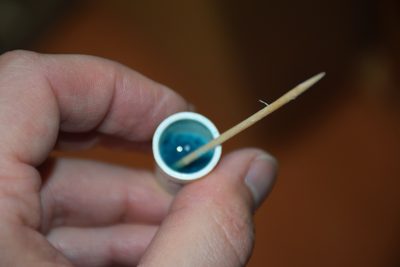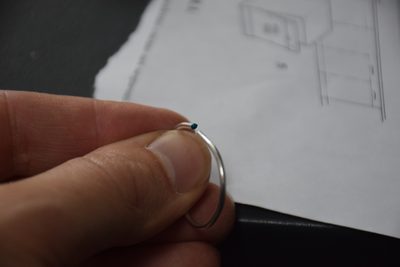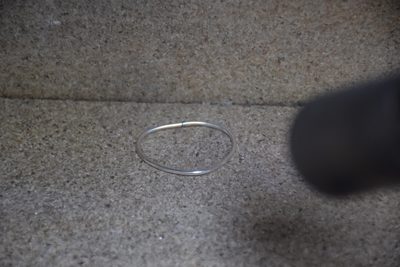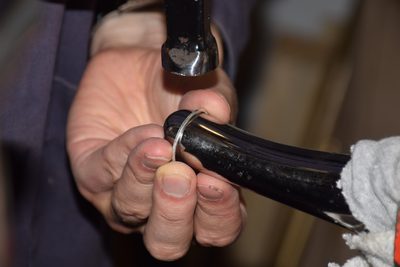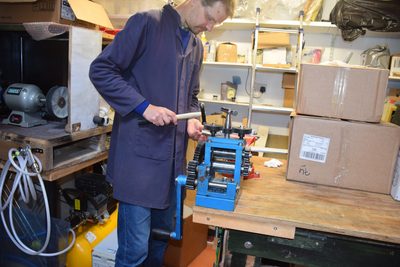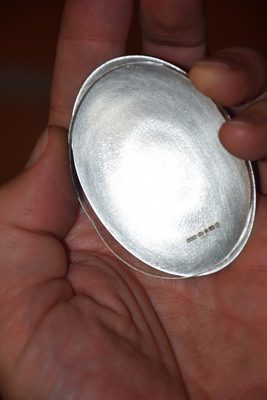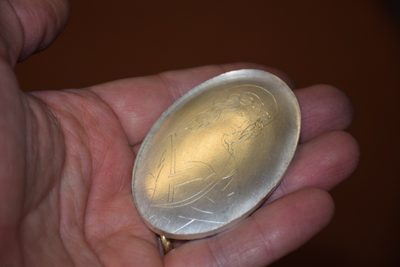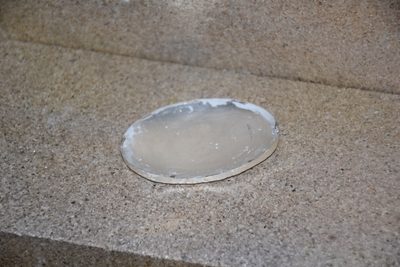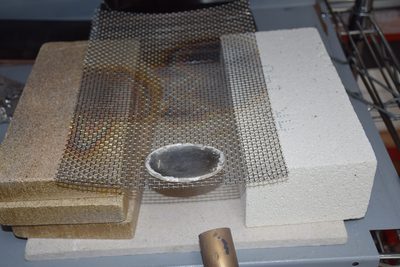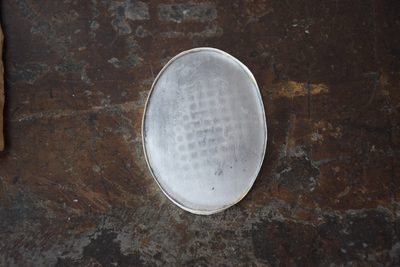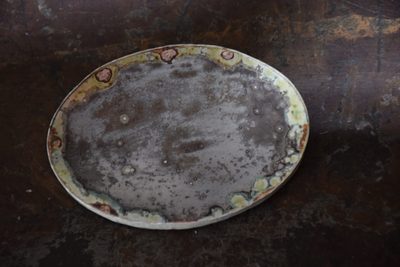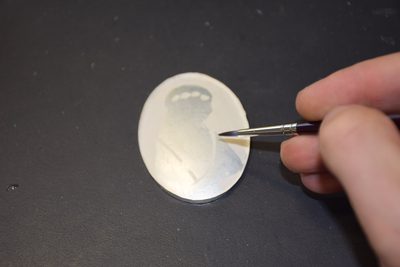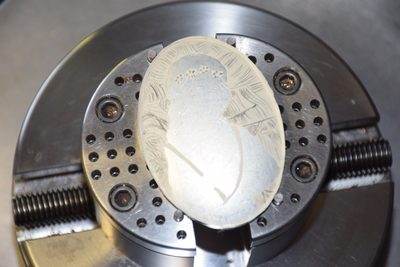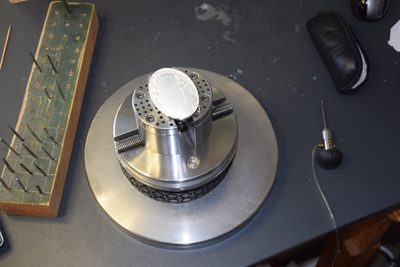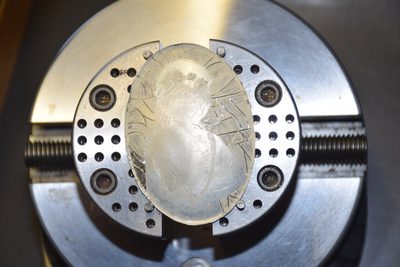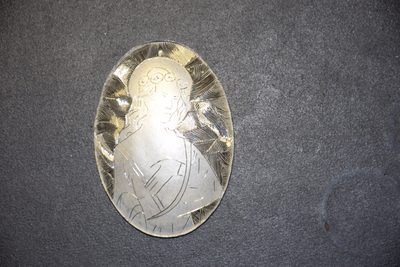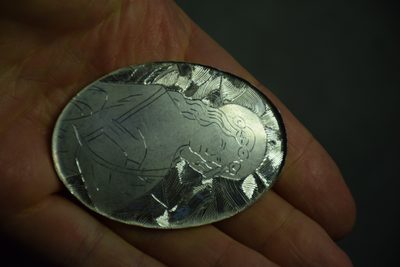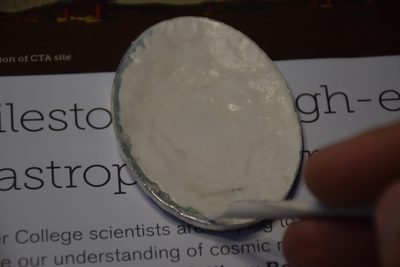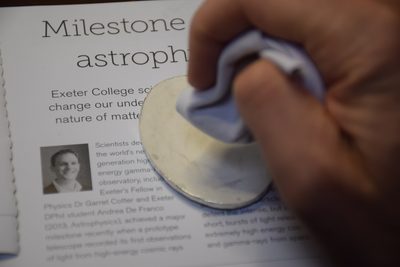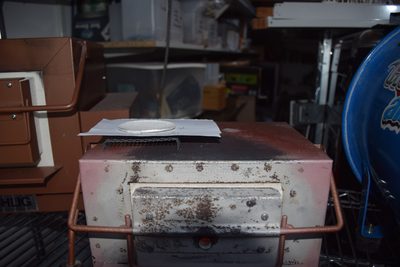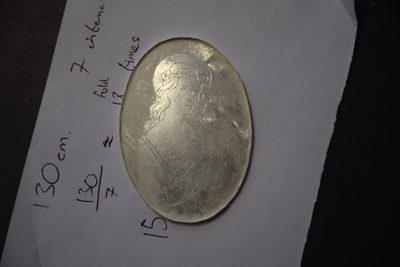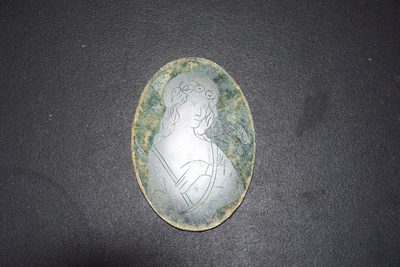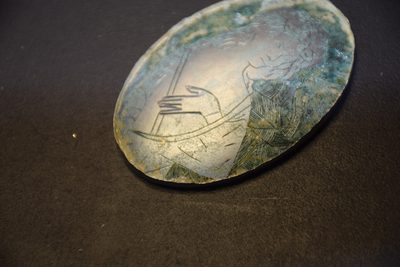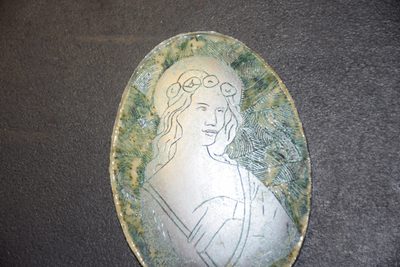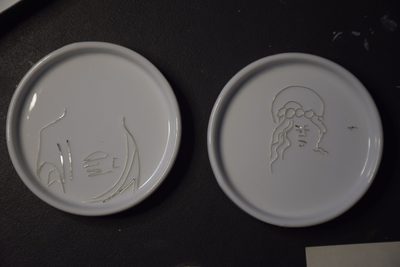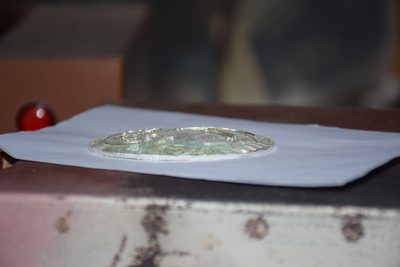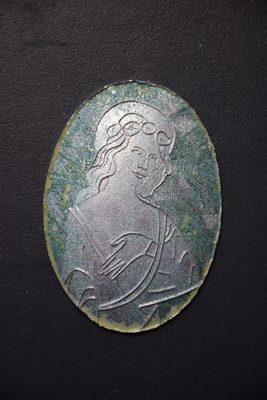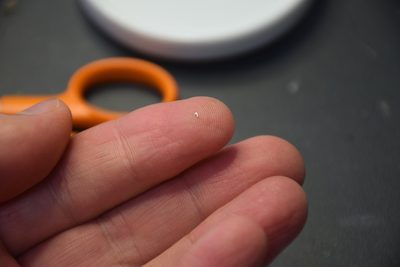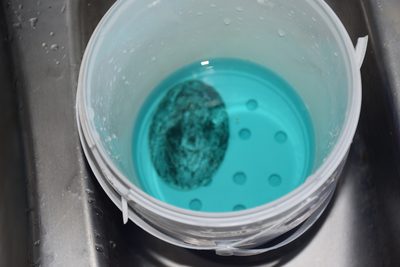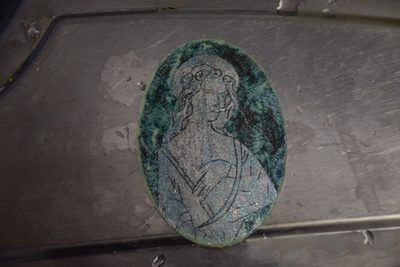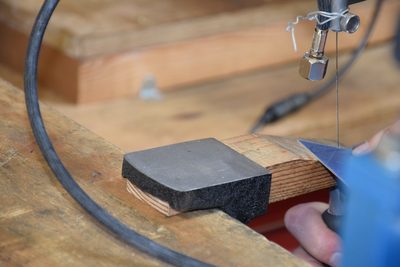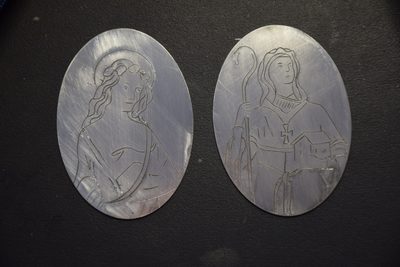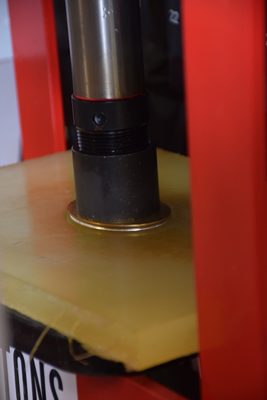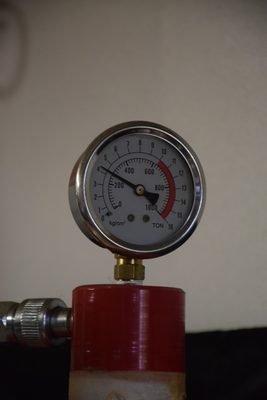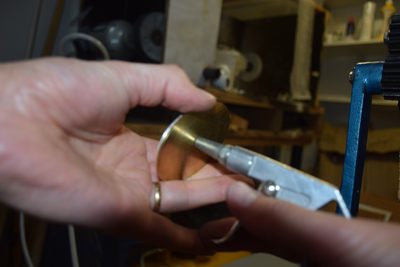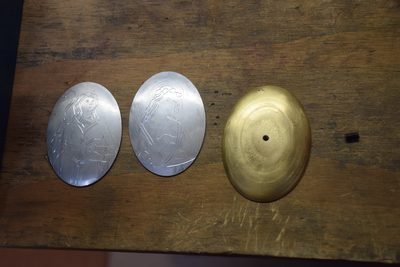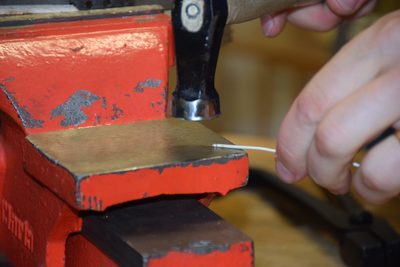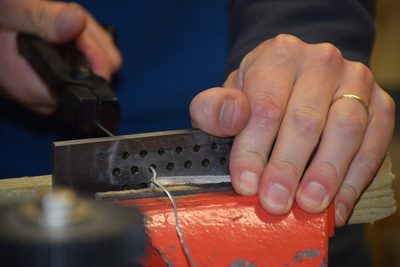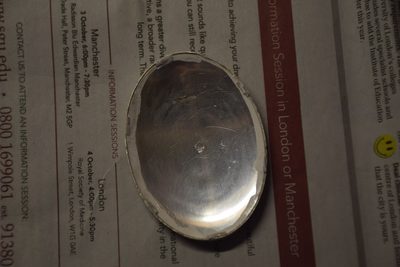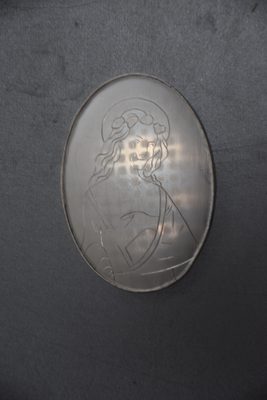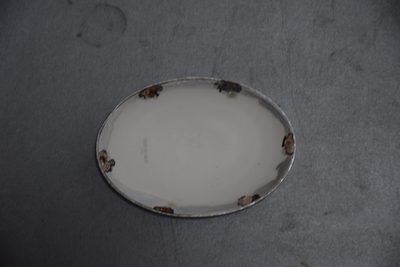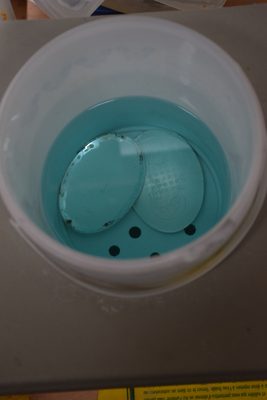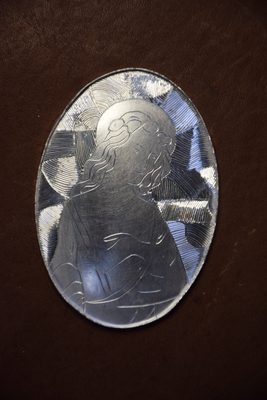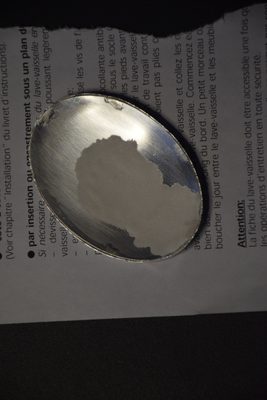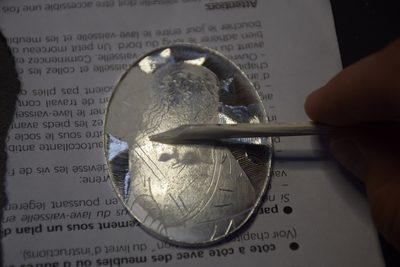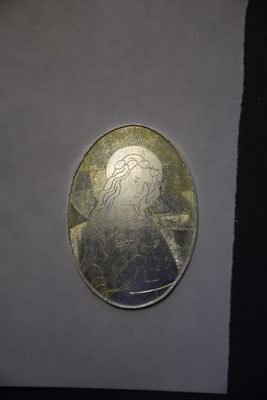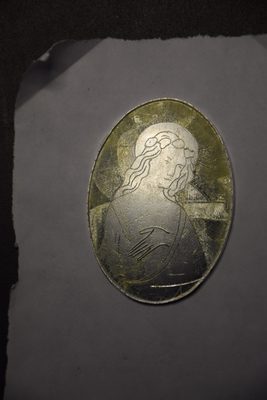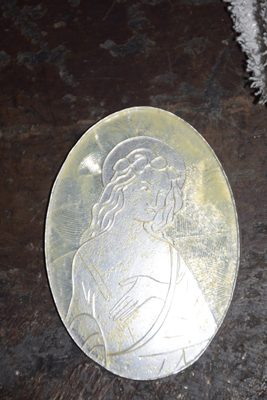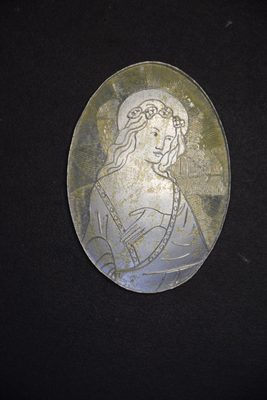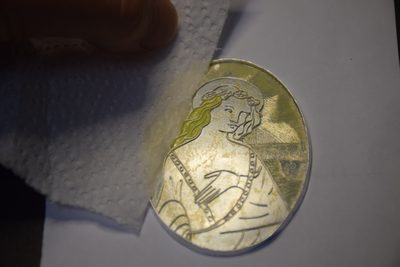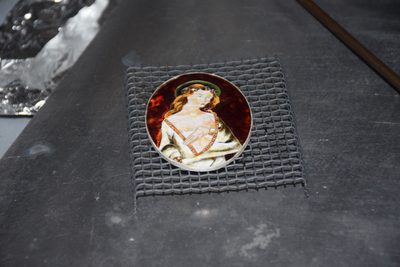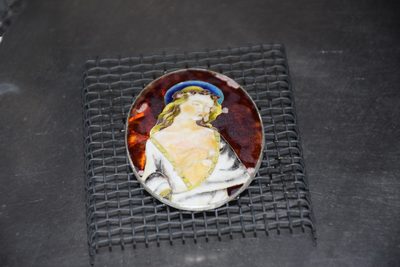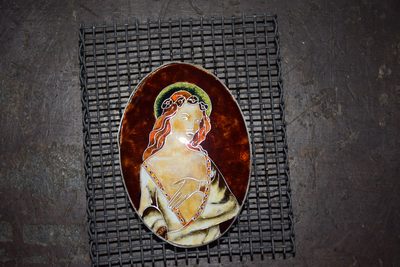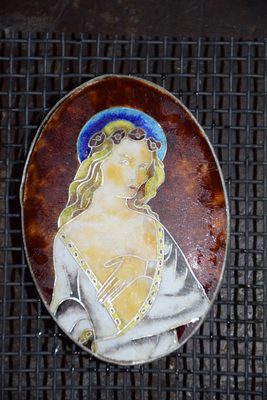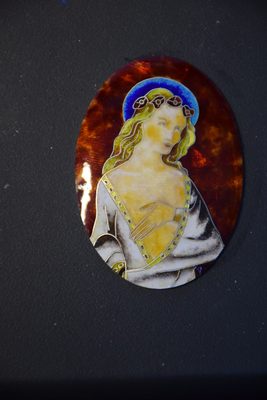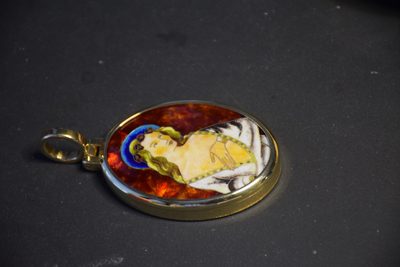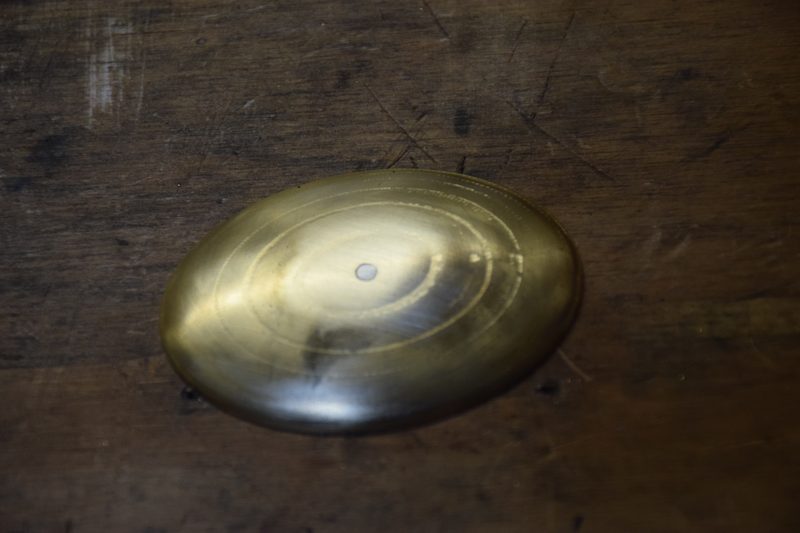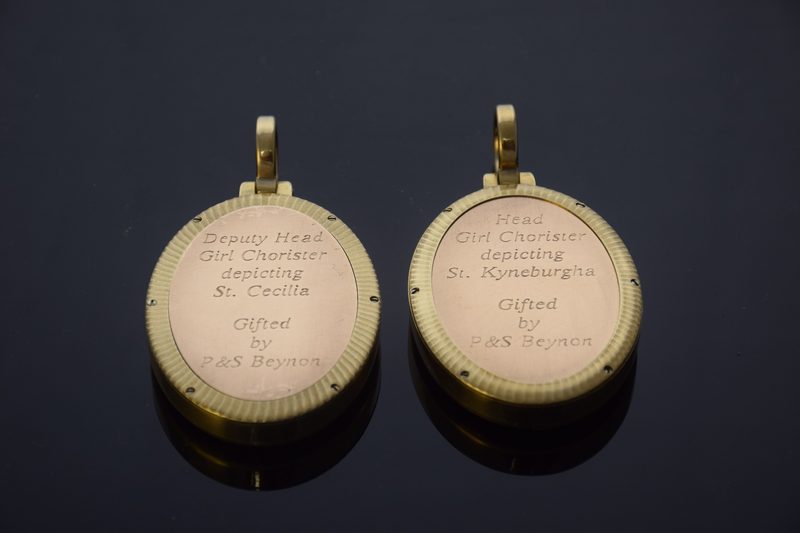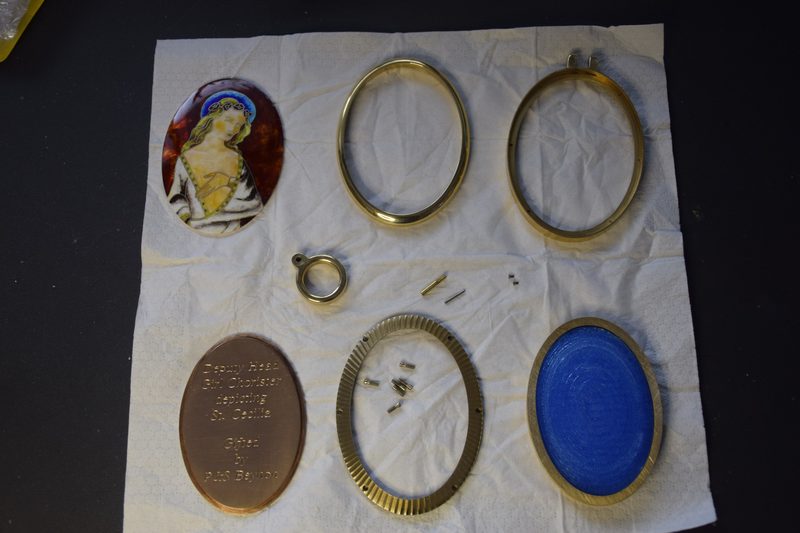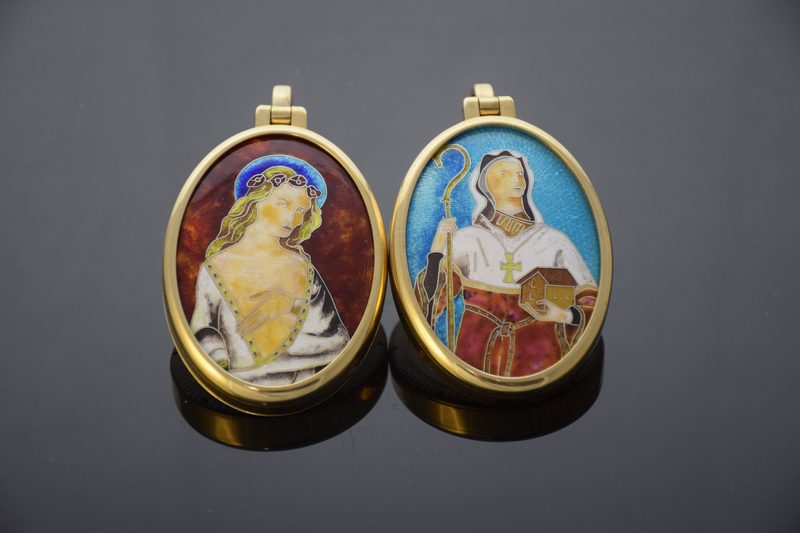
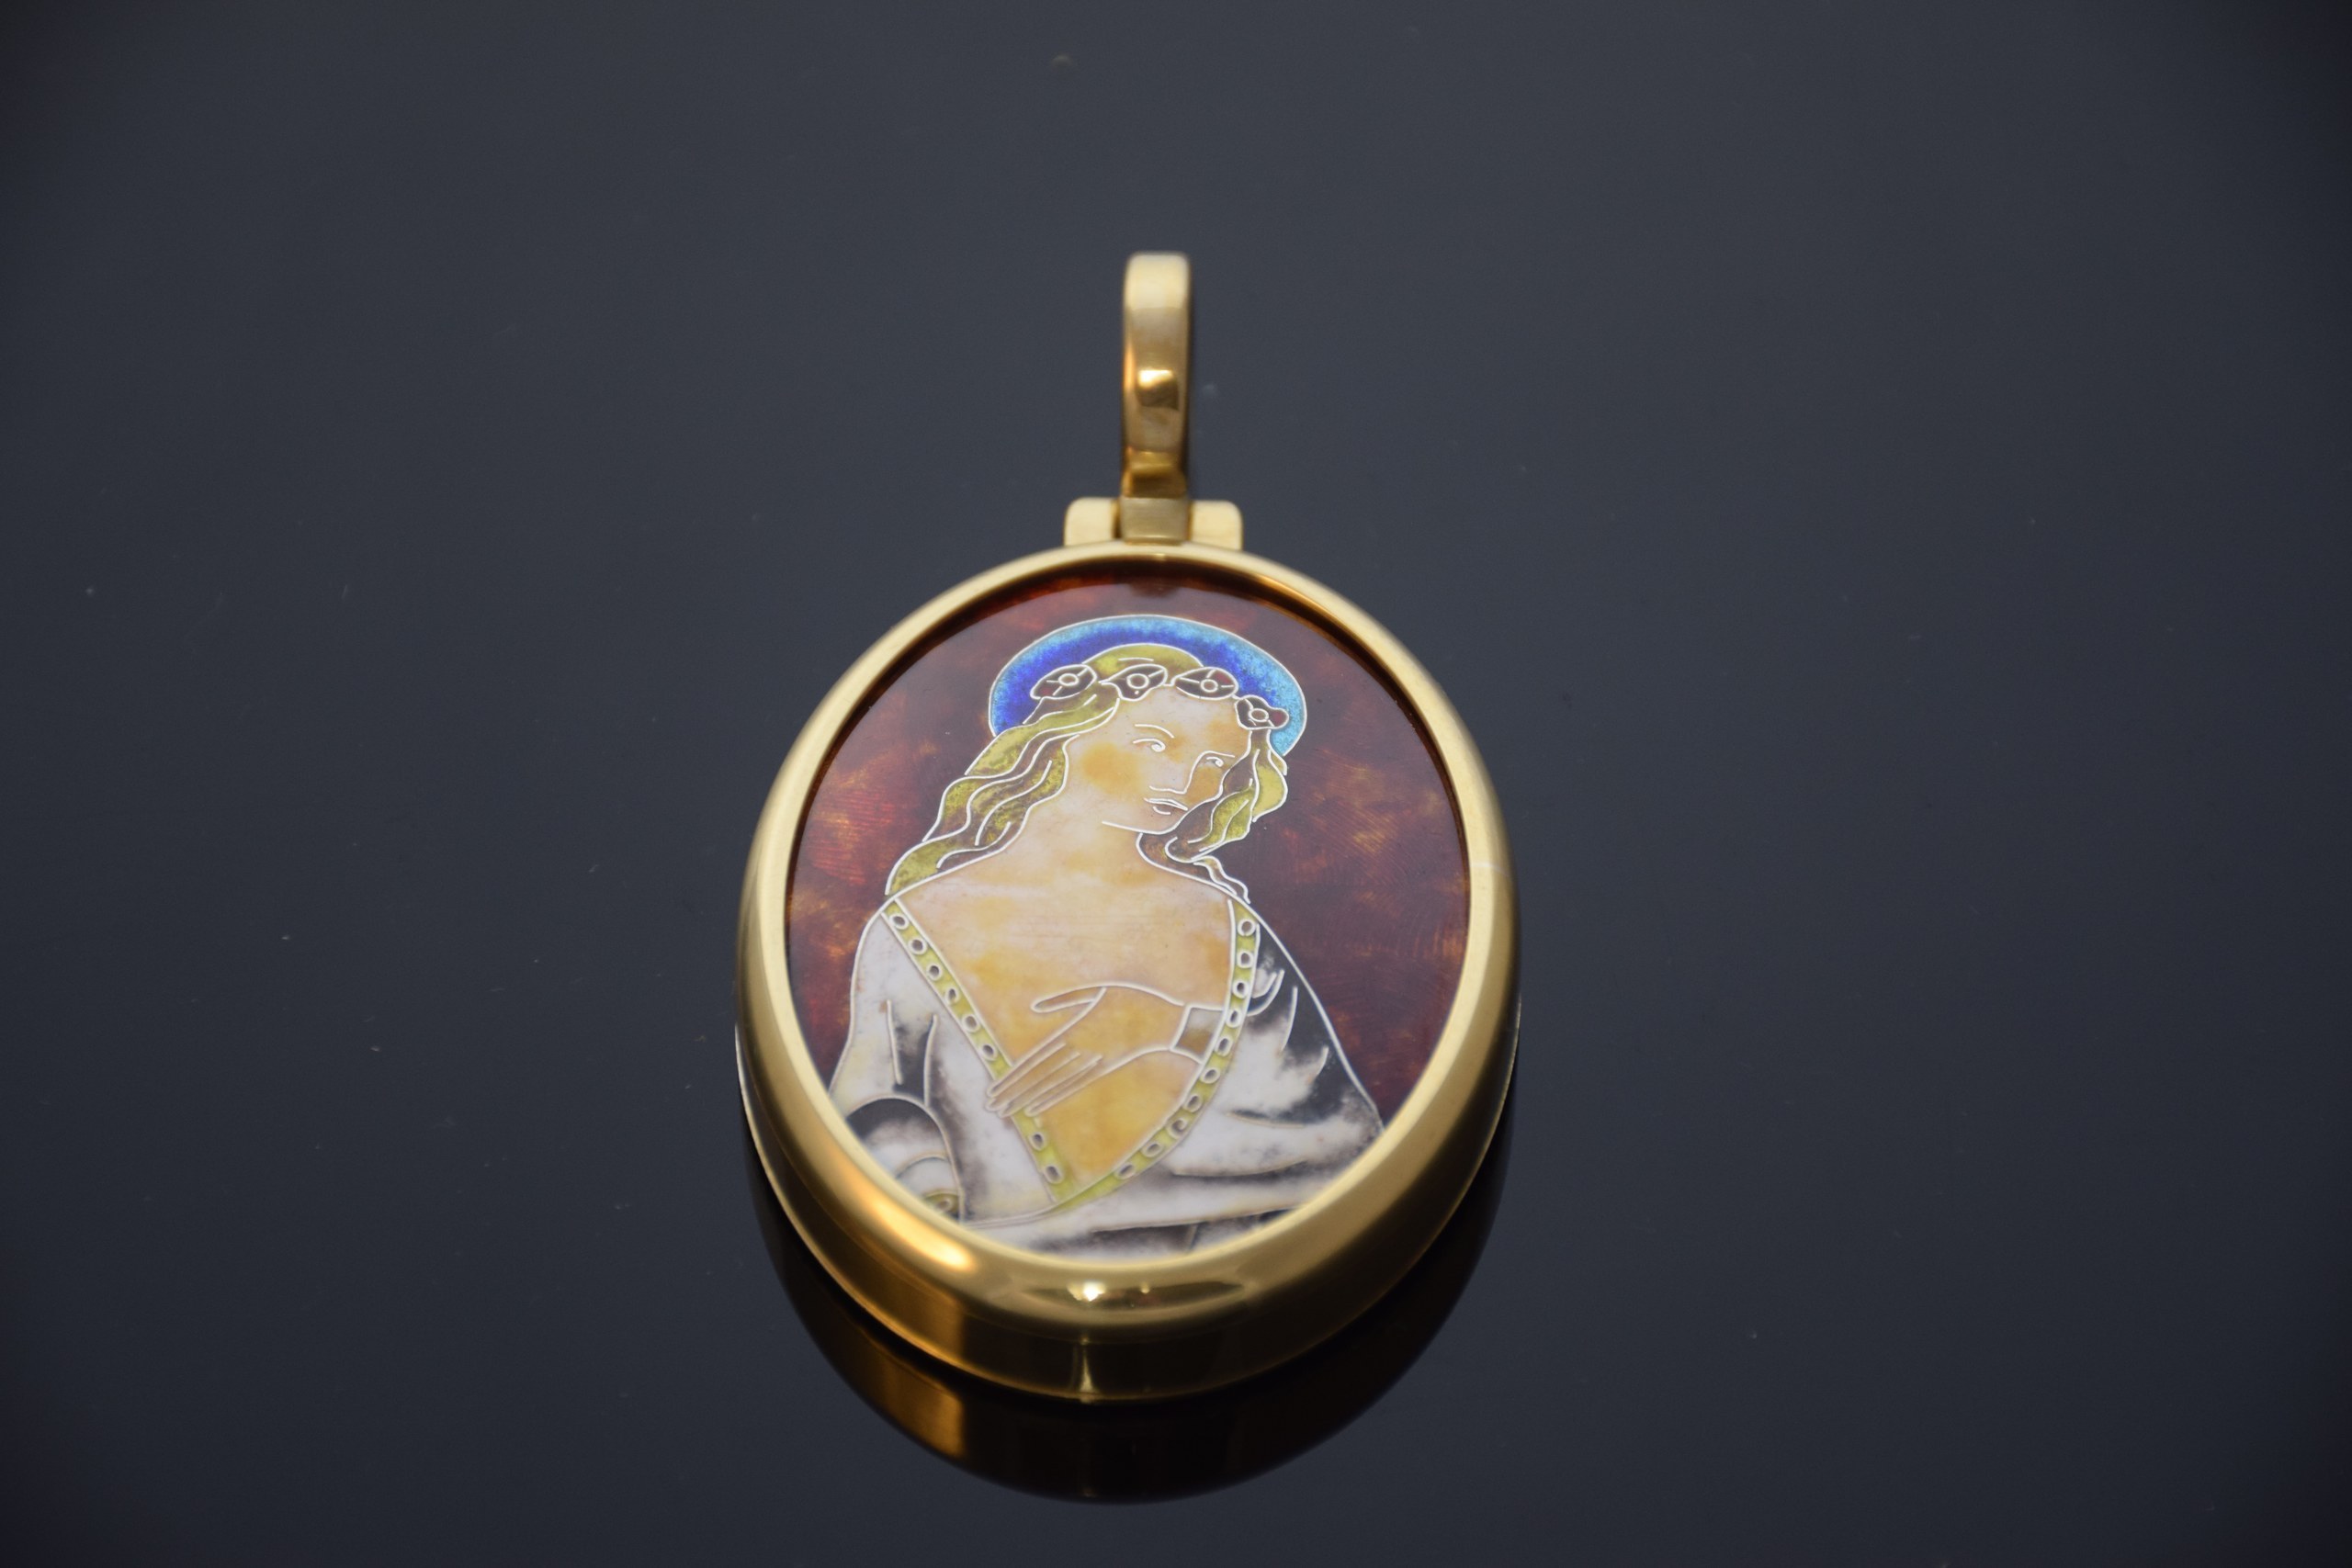
This shows a pencil drawing of the design idea for the St. Kyneburgha medal. …This shows the initial design for the medal which will depict Saint Cecilia. The …Just a quick sketch to help decide whether the ribbon connection should be a …Doing some drawings helps to visualize the object and to communicate to the customer.Now the process has been tested on copper it's time to use silver. I'm …The cut out ellipse.Testing how the silver looks inside the front medal casing piecePainting Chinese White water colour onto the silver, the silver has to be really …Using a pencil I draw the outline for the design onto the dried water …Getting an idea of how it will look framed.The engraving set-up. The piece is set into a waxy plastic substance, which I've …Cutting out the lines with a graver bit.The Chinese White is washed off and the graver lines are what's left on …Now I use the press set up. Notice I'm not using the circular holder …Here the piece is at full depression into the urethane.The ellipsoid shape put into the silver.The Stirling silver ready for depletion gilding. The black Sharpie marks will fade when …After heating with a torch the silver has dulled as the copper in the …The image of Saint Kyneburgha to be transferred to the silver ellipse.I wasn't sure about the way I'd drawn the hands holding the staff - …The pencil drawing was transferred to the Chinese White water colour layer painted on …The same set-up as before, the waxy plastic substance has been remelted and the …The graver lines put into the silver disc with the Chinese White removed.Positioning the silver ellipse onto the brass die.After the first pressing in the hydraulic press, its not quite flat at the …I anneal the piece, and at the same time do a depletion gild (well …Pressed one more time, only the silver is a bit softer this time after …The Stirling silver pieces are put in acid to clean up the surface and …Checking the fit in the medal casing (the casing is nearly finished now as …I think they look quite nice as they are, I could finish here!I got my maker's mark and Hallmark put on the piecesCalculating the length of the perimeter of the ellipse.Getting the required length of silver wirePutting the wire end-to-end and making sure it's a good joint.Fine copper particles in solution.Painted the fine copper particles onto the end of the fine silver wire.The wire is heated so the joint forms an alloy. The joint becomes Stirling …Now the wire is hammered into a thin ribbon.Me hammering the silver into a thin ribbonAfter a more annealing and hammering the silver wire is transformed into a ribbon …It's a nice snug fit. It's surprising just how much control there is with …Little ribbons of hard silver solder are put at the joins, along with borax …The flux is dried and then the whole piece heated until the solder meltsThe heating process leaves the gauze pattern on the top of the piece.And the underside looks a bit of a mess!Painting on some Chinese White so that I may mark out the lines in …Mounting the piece in the engraving blockSharpening the gravers, I use the Lindsay system.The engraving set-up with the turn-table at the bottom, a rubber tyre on top …I've put in the main border lines first, followed by the smaller flow curving …All the flow lines carved in.Mixing the clear hard-flux in a pestle and mortar. I'm going to put hard …Applying the hard flux with a goose quill. The goose feather really holds the …Drawing out some of the moistureDrying out on top of the kiln. My little kiln gives off a lot …Dried off before firingDried off after firing.Putting the cloisonné wires on for the hand.The wires for the eyes and lips.The collection of wires, ready to go on.The wires are stuck onto the enamel base with a little bit of gum …After this firing, there's still a bit to go yet to cover all of …A tiny stilt to sit on the silver back on one side but to …Into the acid bath to try and clean off some of the fire-scaleWhat an absolute mess! I've succeeded in dissolving the cloisonné wires and not cleaned …I decide to start again with fine silver instead. No oxidation problems this time …The same process as before, I've engraved out the outline that the wires will …Press out using the urethane pad and the hydraulic press with die.Just make a note of the pressure that I used for future reference.This is a useful trick, if the piece gets stuck then blast it out …The formed fine silver ellipsoids and the ellipsoidal forming die with the worm screw …I need some more silver flat wire for the cloisonné. Here I'm hammering the …Pulling the wire through to reduce its diameter. The wire-forming die requires plenty of …Look at that expression of determination!Sometimes kinks need a bit of help through.Putting the wire through a roller mill to turn it into flat wireThe finished reel of flat fine silver wire.The same as before, hard solder ribbons with borax flux. Notice the Hallmark is …After the soldering is done the front of the piece is showing the same …The solder oxidation and the flux on the back, this needs to be removed.Plunging the pieces into acid to clean off the flux and the solder oxidation …I repeated the graver lines for the background using the same method.Putting on the counter enamel on the reverse (washed the enamel first). The hallmark …I put a thin layer of the same hard flux onto the top of …After the flux has been fired into the enamel. It's gone a little bit …Some of the wires put onto the design before they are fired in.After the wires are fired inAll the wires have gone on now.Bleeding some of the water off the enamel.The enamel I'm using for this is the Gold Trans with particles greater than …After the first firing of the enamel, I've filled the piece with all the …My pallet for doing Saint Cecilia. The amazon frog is hiding amongst it!Saint Cecilia just out of the kiln, she's glowing!Cooling down now the colours change. It's useful to watch the colours change as …Just a few extra places need building up, these can easily be spotted from …Fired in and cooling down. The silver rim is moving off the edge of …I've ground the surface smooth to follow the ellipsoidal shape, as you can see …The finished cloisonné piece, I've taken off the perimeter silver, it's done it's purpose …The finished piece of Saint Cecilia inside the casing